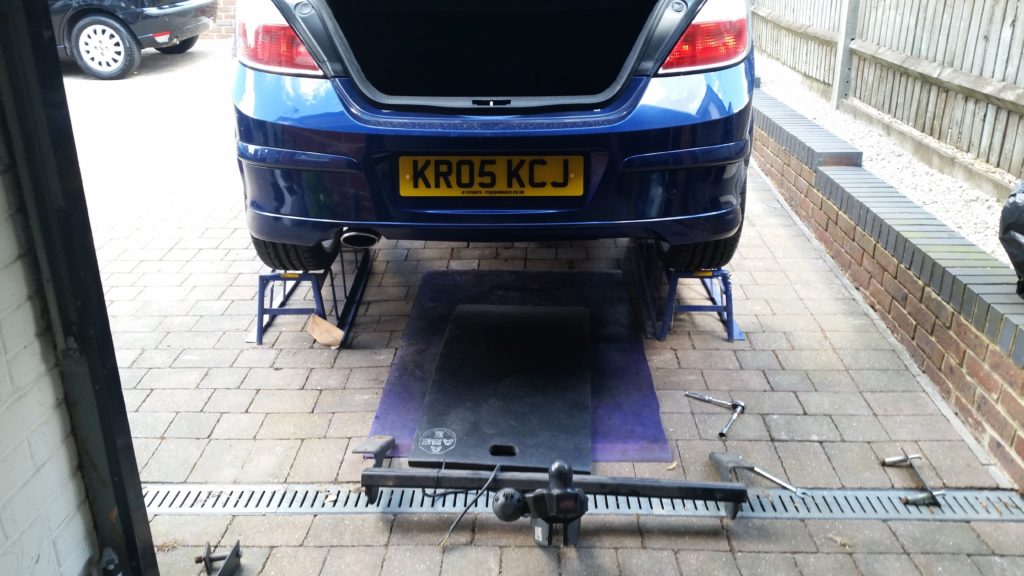
 I first bought this towbar second hand from a chap in Gravesend and fitted it to my old Mk5 1.7 CDTI, but realising that it wouldn’t do anything positive to the resale price, I removed it and it has sat in the garage ever since.
It is a standard Witter item with a fixed flange type tow ball mounting that will be useful if I ever weaken and need to fit a bike rack or something similar. Having fitted this before, there was no need to look up which holes to drill or how much clearance I’d need around the exhaust.
With the car reversed onto ramps, I unhooked the two rearmost exhaust support rubbers and let it simply dangle down under its own weight. A little unkind but it has quite a big bore and the centre section is well supported by two more rubbers and gives *just* enough access. Next job was to remove the centre boot sill cover, which is simply fixed on with press-in clips. Pull out from the bottom at the inside and then disengage the top – it comes out very painlessly. That gives access to loosen the moulded side carpet trim, which similarly just pulls out some more clips.
Now, with better access, it is time to remove an area of the bitumen loaded deadening material from the near side corner, which is where the inside load spreading plate will sit later. It’s possible to see where the drill holes are through it, so I used a pencil to mark it out about 6mm clear all around it. Here’s a good hint, found last time in desperation – use heat to soften the bitumen pad – I used a blow lamp and gently warmed the area until the first sign of smoke, then cut along my pencil lines with a Stanley knife before simply scraping the softened pad out with a paint scraper.
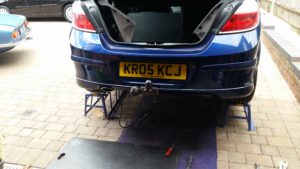 I used a step drill to drill and open out the front and rear holes just far enough that the spacer tubes fitted in – note that on the Mk5, the front spacers are about 5mm shorter than the rears – and then inserted them, placed the spreader plates over the top and put the bolts in so that I would have something to aim at when lifting the towbar into place from underneath. I managed it alone, but this would be much easier and quicker with an assistant with a spanner in the back of the car.
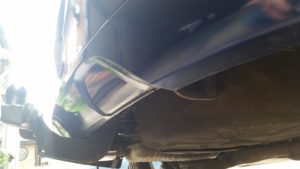
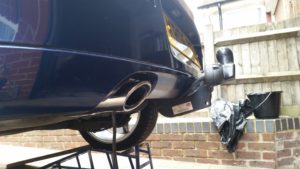
One potential complication I had expected to face with this car is that it is fitted with the XP (exterior pack) body kit, which includes a lower rear bumper cover. I had expected to need to cut that cover but the Witter towbar just fits without doing so, albeit touching and probably applying gentle pressure. I can’t now remove the bumper (to fit reversing sensors) without removing the towbar, so I may drop that idea now. The two photos below show the final fit:
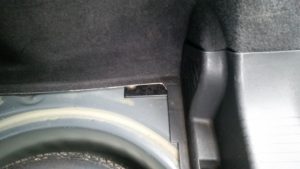
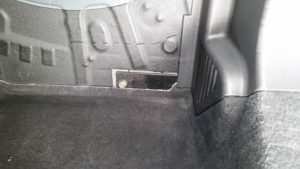
Also under the black bitumen is a 3/4 inch plastic grommet, which provides easy access to bring the trailer electric cable into the car in a specially provided channel behind the plastic boot sill trim. I cut a simple cross in the centre of the grommet and fed the cable into the car through it, which appears to have made a good seal. With the towbar fitted, the inside (boot carpet removed) looks like this:
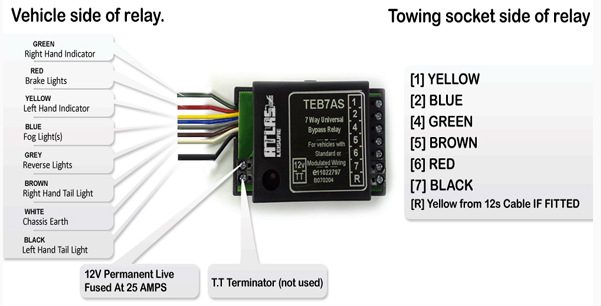 Wiring is straightforward – this is a CAN bus equipped car and it has the bulb failure monitoring functions activated. What that means to the installer of a towbar is that a relay box is needed to convert the pulsed (you did read that correctly) supplies to some lamp circuits to separate circuits powered from a specially provided live connection in the Rear Electrical Centre (REC), which is located above the near side wheel arch. These relays are really easy to use and can be found secondhand in scrap yards quite commonly, or new (obviously) from PF Jones.
I had to trace through all the connections, which I have written down below to save you some time and the pain of tracing them for themselves – they are for AstraH (obviously) but you will probably find that the majority are the same colour in at least VectraC and possibly Insignia. This undoubtedly the most time consuming part of the job and would have taken no more than 20 minutes to wire up if I had had the notes to hand.
Connection colours (Astra H):
- Tail (left) = grey/black
- Tail (right) = grey/red
- Brake = black/yellow
- Fog = black/blue
- Indicator (left) = black/white
- Indicator (right) = black/green
- Reverse = white/black
- Earth = brown
If you intend to fit reversing sensors, make sure you connect the reversing light wire (white/black) to the grey cable on the relay box – it gives you a nice switched supply to run your reversing sensors from that doesn’t load the reverse light circuit. On the Mk5 Astra this isn’t much of an issue as this light appears to be a simple switch from the gearbox routed straight to the lamps, but it would be good practice to do this.
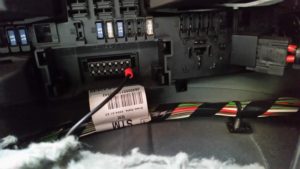
The 12V feed needed for the relay box is taken from the towing connector in the REC, as shown here – I used a trimmed down spade connector to pick up the front-most lower pin in the connector. The earth is also conveniently close – I fitted an 8mm ring connector to the white wire on the relay box and bolted that to the earth point along with the car’s rear lights in the near side corner of the boot, behind the corner carpet.
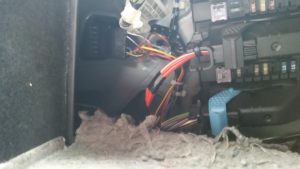 Tidying up, with all connections individually soldered and insulated, I bound the looms back together with insulation tape and clipped them back into place.
Testing was easy – I simply referred to my old guide to the pinout of the 12N connector and used a multimeter to probe the connections and prove they worked correctly. Note that the diagram I show in my guide is as viewed from the rear of the connector (wiring terminal side) and so you need to flip it horizontally to use it from the connector side.
While some might say I have spoilt this car, a tow bar, correctly fitted is a really useful addition. I have a little Erde trailer, which has been used to carry engines, gearboxes, wheels and all sorts of dirty stuff that I wouldn’t want to put in the car. As such, it’s a good thing to have and keeps the car clean inside.
![[Abs-Zero]](http://www.abs-zero.com/wordpress/wp-content/uploads/2013/11/abs-zero.jpg)
