
OSR Arch Replacement - Days 6 to 8 (29th June to 1st July 2005)
UNDER CONSTRUCTION
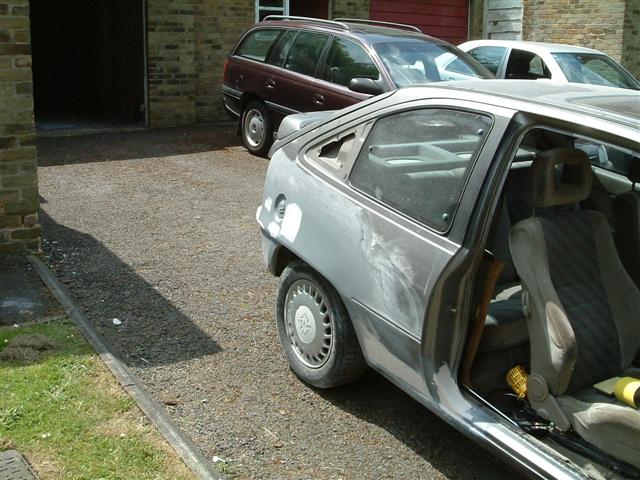
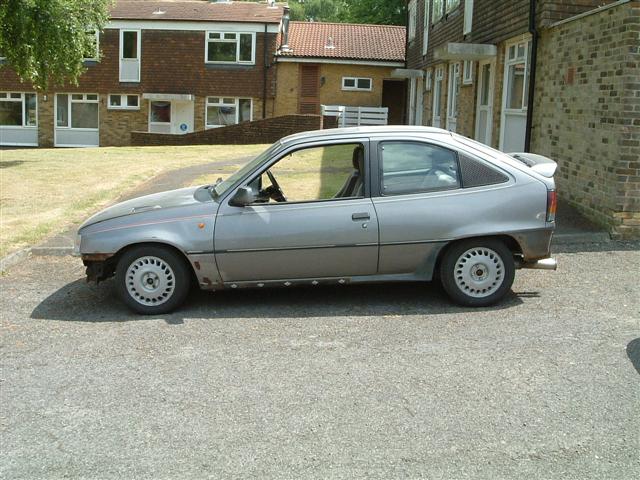
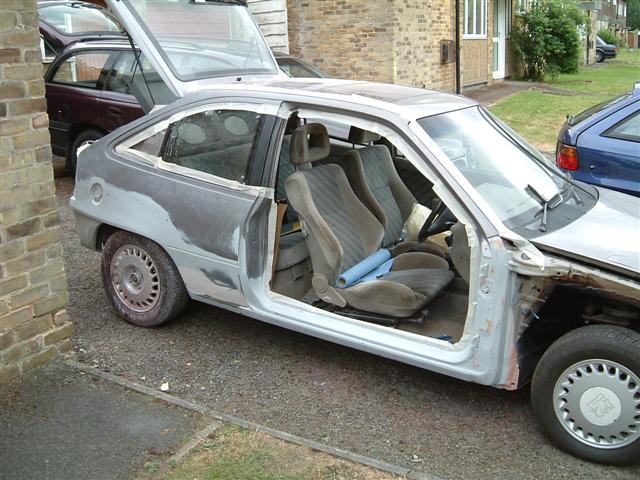
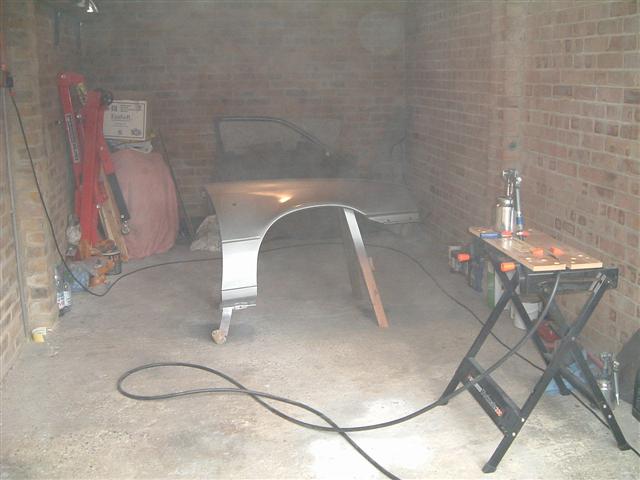
Epic battle here, I took a week off work to get some progress on the GTE. You'll see that it's now up at the garage, which means I can leave it de-doored and not worry about the weather.
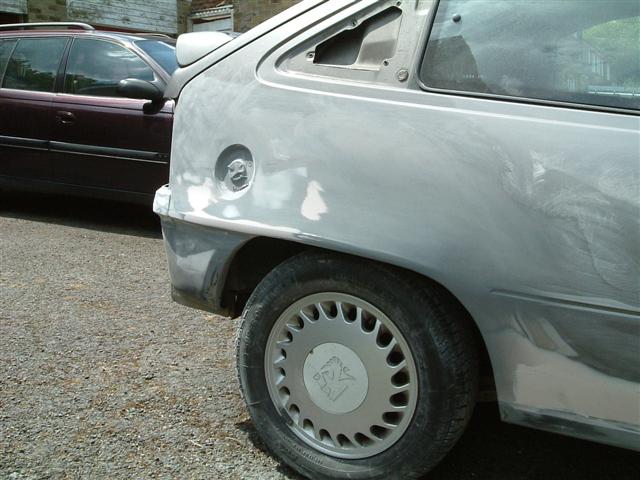
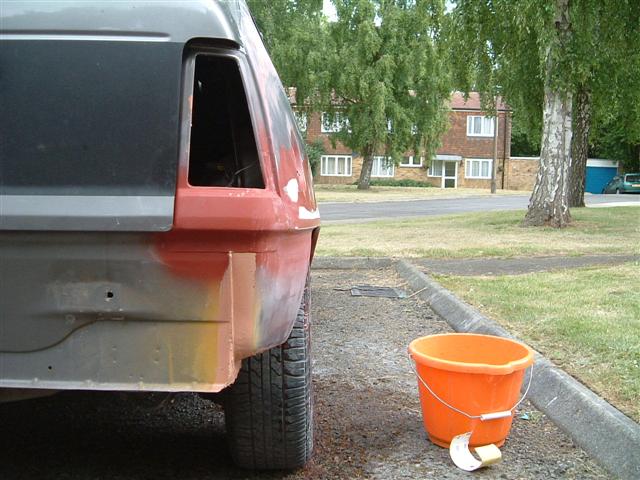
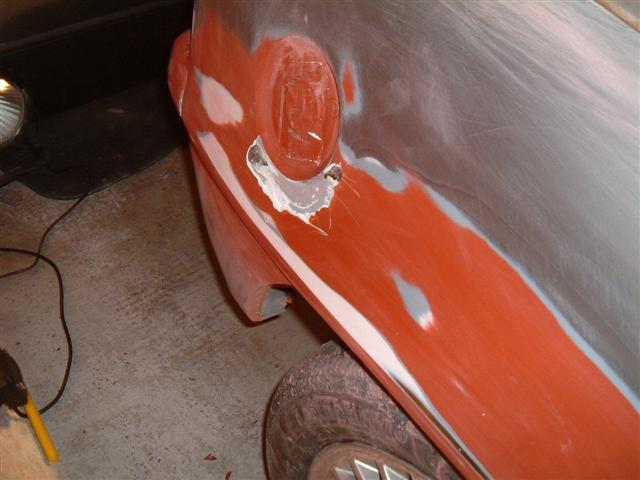
The next pictures are not overly interesting, but the main point is that I wasn't happy with the shape I got in the rear arch while I was working on it at home, so I added some more filler and tried again...
More filler going in, to dress the areas I thought looked too low...
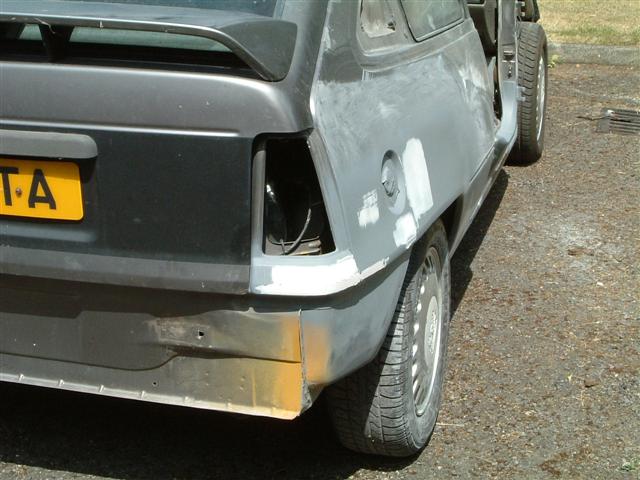
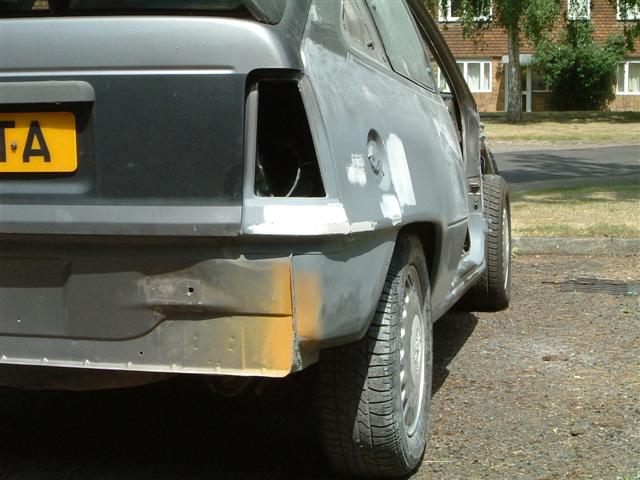
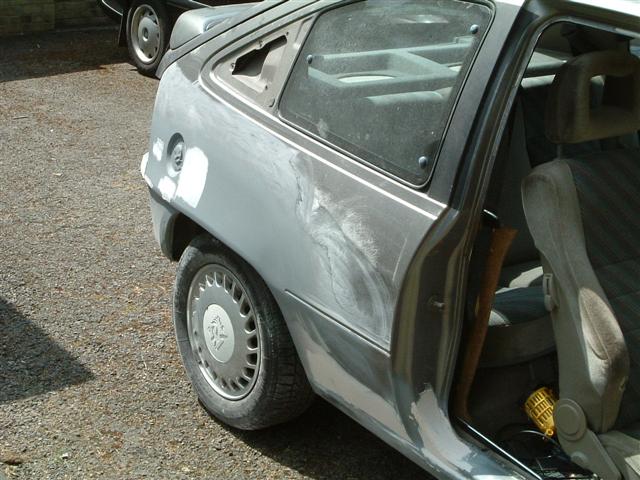
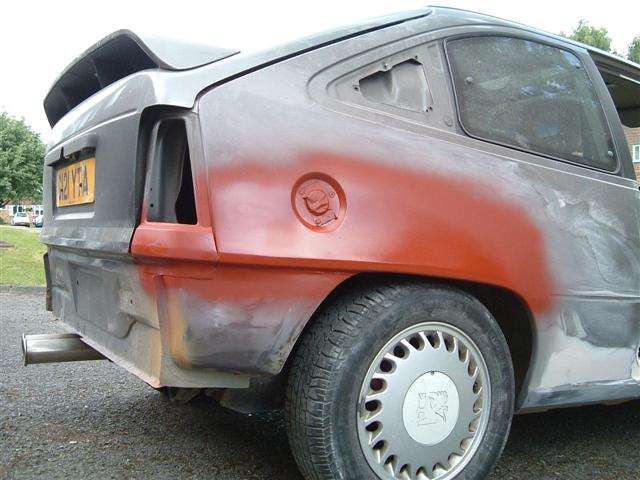
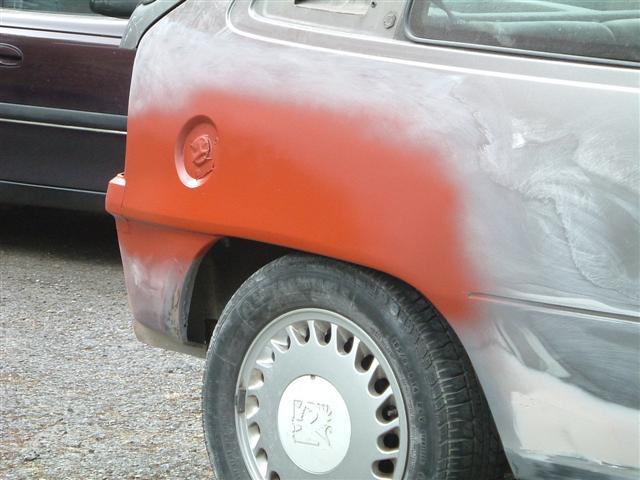
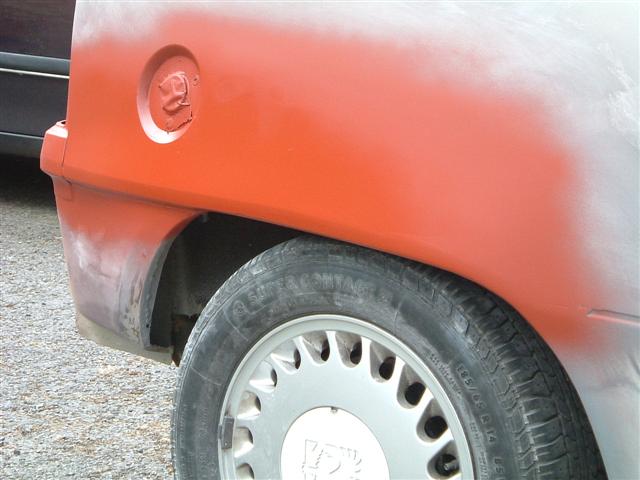
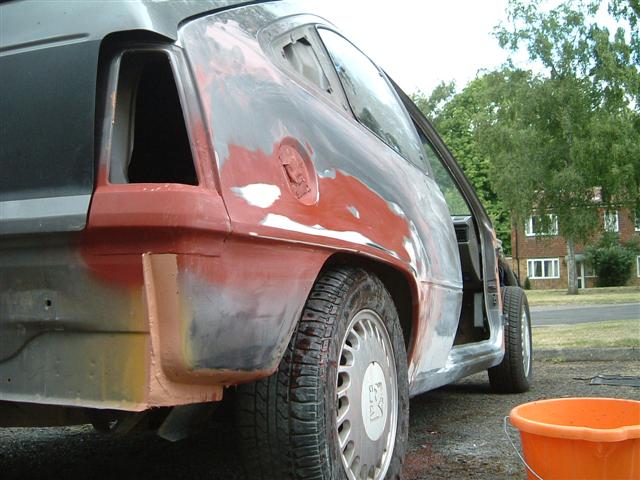
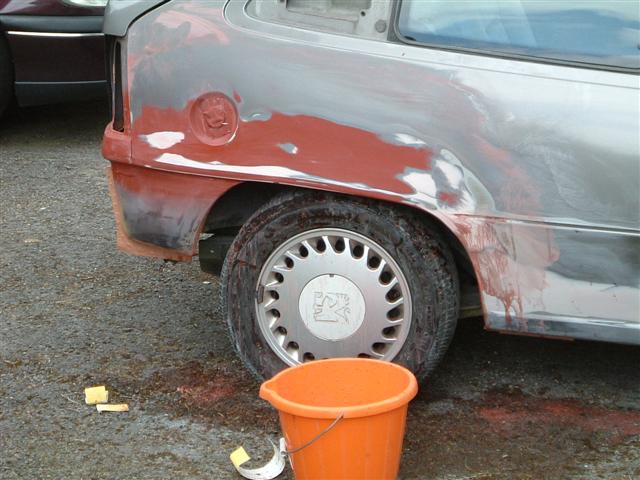
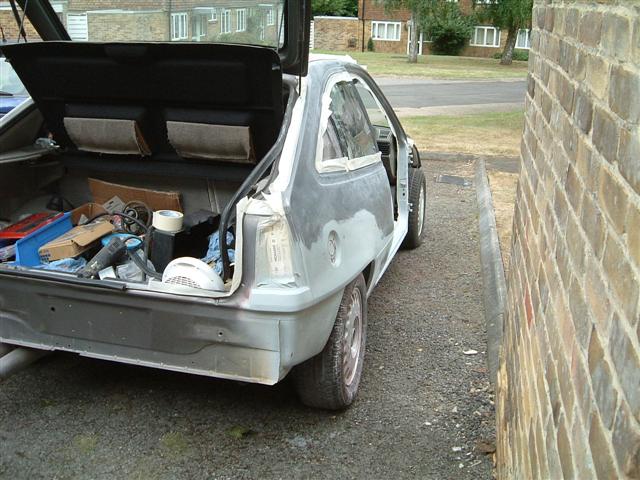
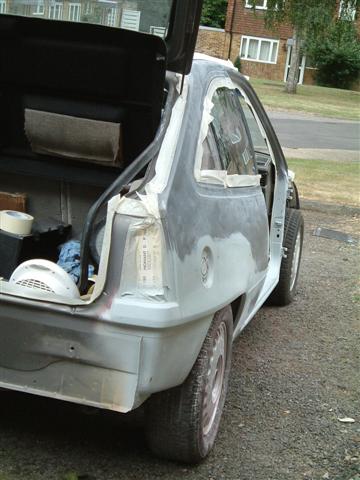
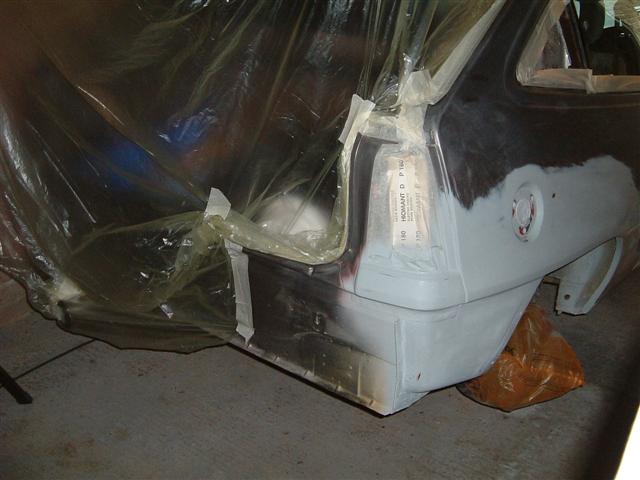
Halfords ran out of grey primer, so I ended up with red. This means that I have to spray over it again so that the red doesn't discolour any future Mistral grey colour coat. But look carefully. I'm still not happy with this and you can see why. The line across the top of the arch is supposed to be straight and carry on backwards to the rear corner, this one is arched upwards at the rear of the wheel arch and while it looks OK, it's still not right.
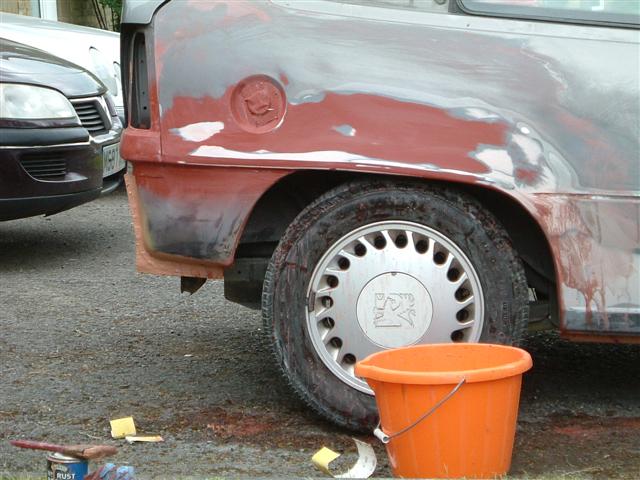
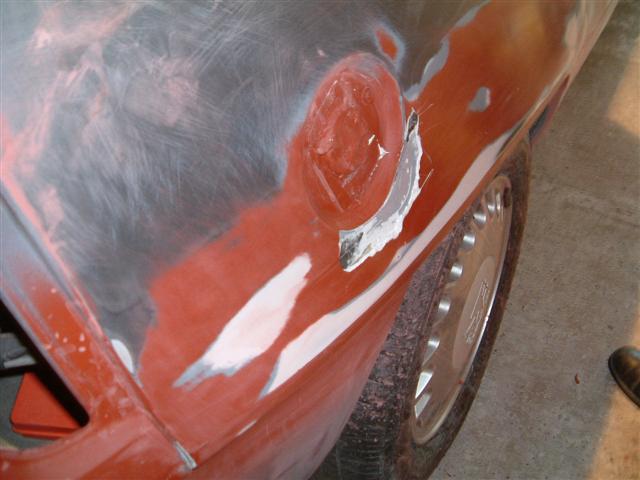
More sanding, but it's not getting any better... Then calamity strikes. There's only a little skim of filler over the welds, but this was the only area where I hadn't removed the original lacquer before applying the filler. Thinking it wasn't behaving itself properly as I sanded with (wet) wet and dry paper, I got the chisel out and found out why - the filler had stuck to the lacquer perfectly, but the lacquer wasn't very well stuck to the car.
Not a big drama really, because I wasn't happy with it anyway!
So I started again... not many pictures of progress now, because I was aiming at getting it finished and didn't have the camera with me every day.
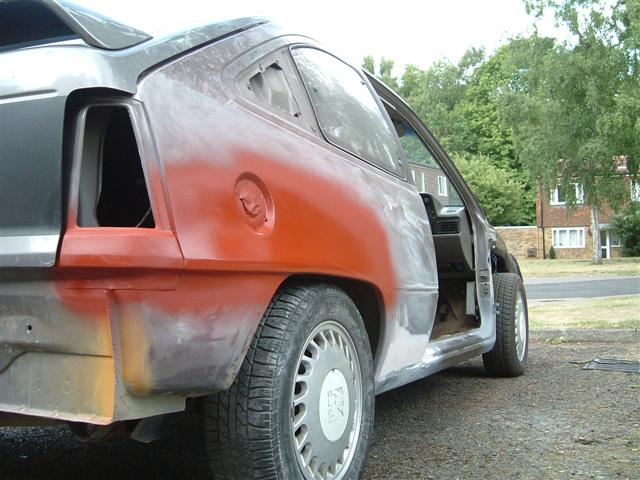
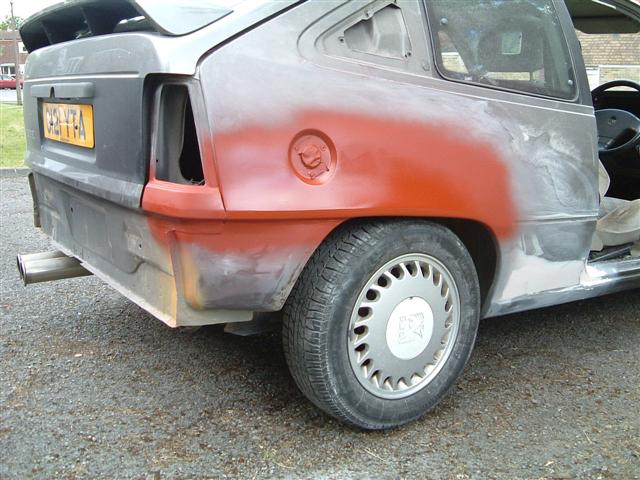
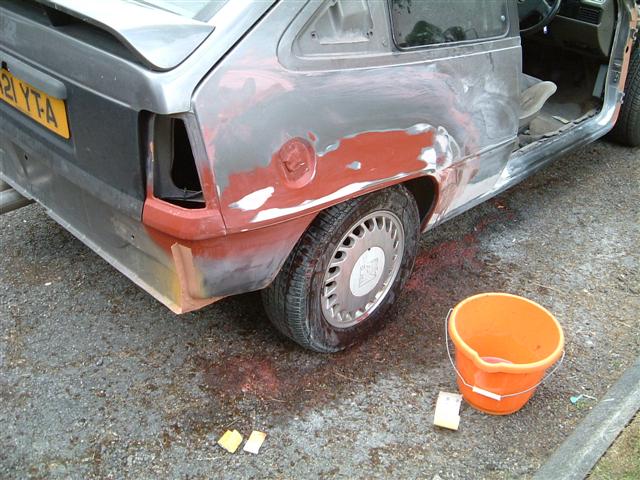
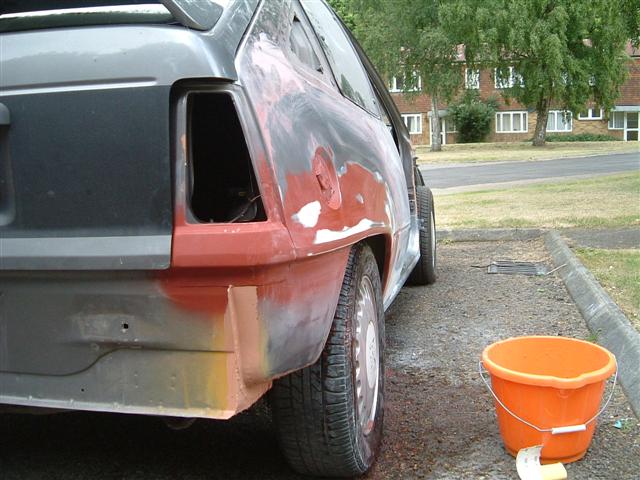
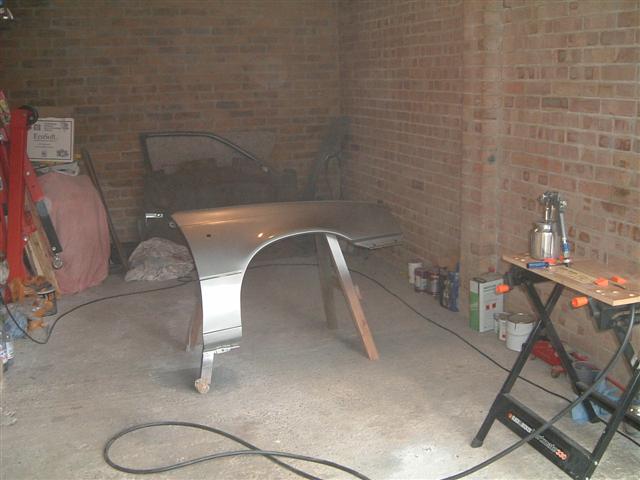
Out came the compressor and spray gun and this was my first attempt at spraying with this setup. Not as hard as you'd imagine really, but this was primer filler, which is designed to stick like the proverbial brown stuff to a blanket, also if you can get that stuff to run you're doing well! Good practice really, and you'll see I also got rid of the red primer.
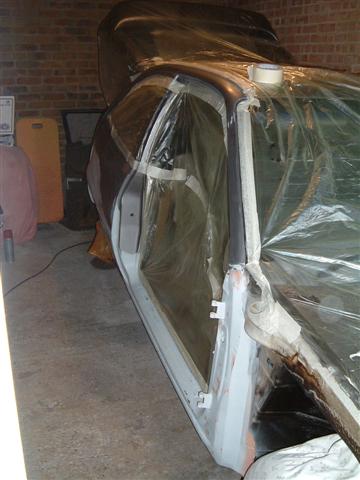
Next pictures show the masking up process, I decided to spray the whole side so that there wouldn't be a nasty blend line to get rid of later, plus if the colour isn't quite right it shouldn't look too bad.
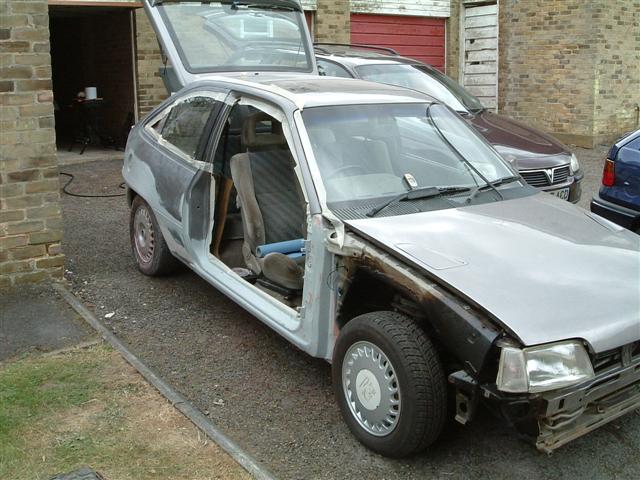
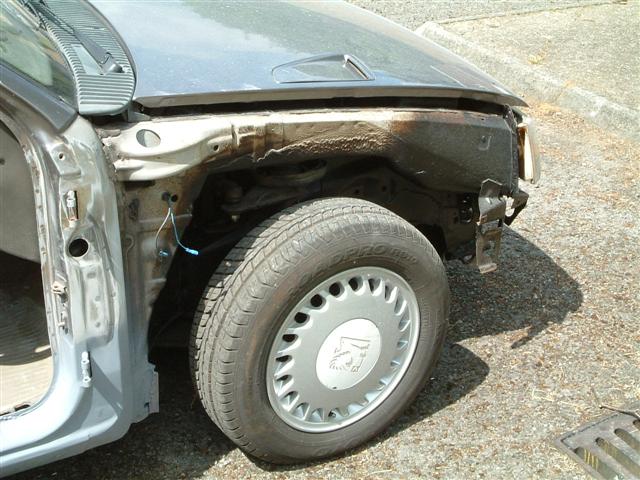
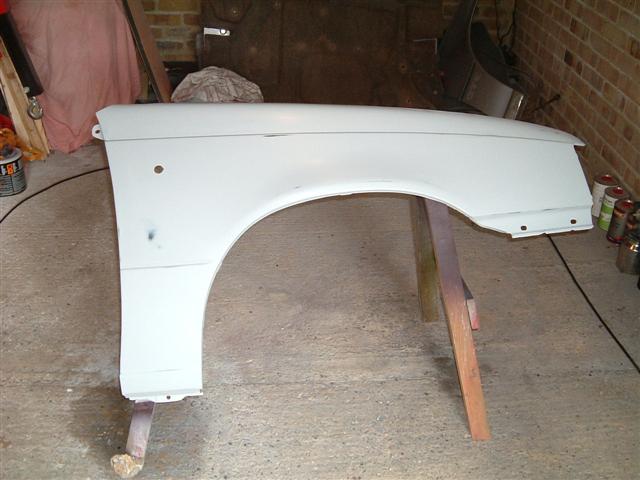
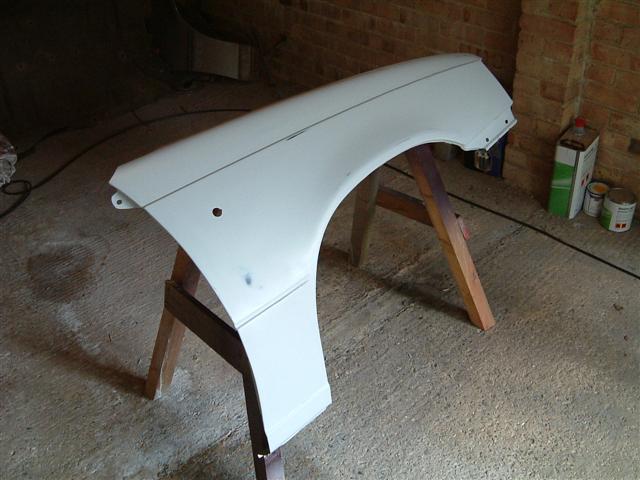
More prep, the front wing has already been tried for fit and was appalling to begin with, but after a little fettling it's pretty good now - at least passable. The main problems were with alignment at the top, because the wing positioning plate was incorrectly placed on the front end (it's been replaced, badly). So I cut about 7mm out of the wing positioner and the front edge of the wing no longer fouls the bonnet corner.
Next was the top corner at the back, which was grating against the A-post because the mounting tab was too shallow. I simply bent that back flat and re-bent it where it should have been to give about 1.5mm clearance between wing and A-pillar.
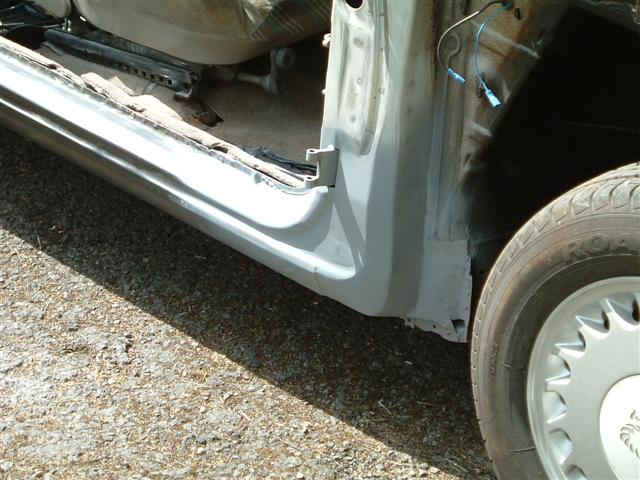
Happy now with the top of the wing I was left with the bottom rear corner, where it bolts to the sill rail. This was awful and it looked like it was never going to fit until I added a small bend in the bottom of it, just after the sill edge. That got it looking much more aligned and I suspect I now know why so many Mk2 Astras are running round with the bottoms of their wings sitting proud of the doors. Easily fixed, but fiddly, and needs some patience, but well worth it.
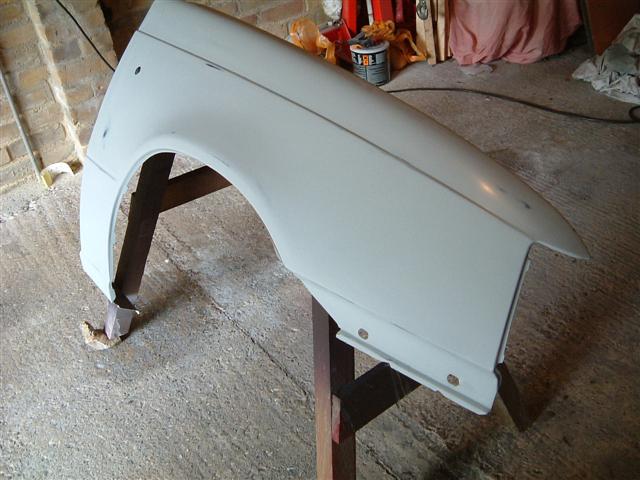
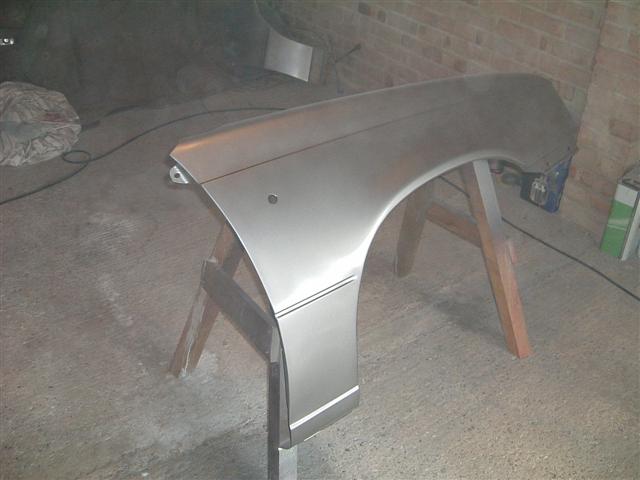
Only once the wing was bent and formed into the shape it'll need to be while fitted to the car, I put it onto a trestle and sanded it, primed it and then flatted it back, ready for painting..
That's what a Litre and a half of Mistral Grey looks like... in the can...
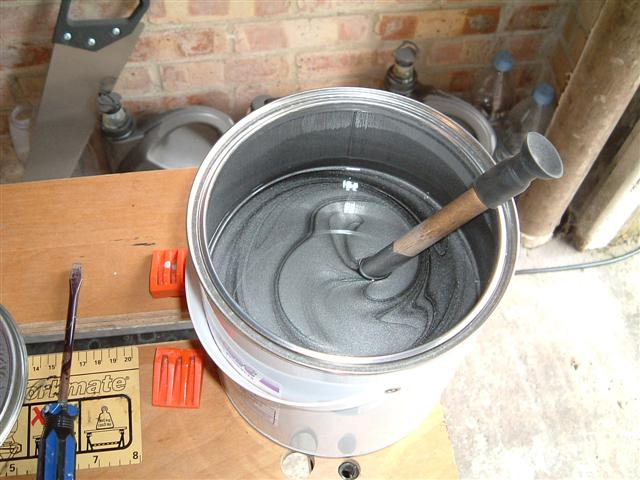
And here's some of it on the wing.
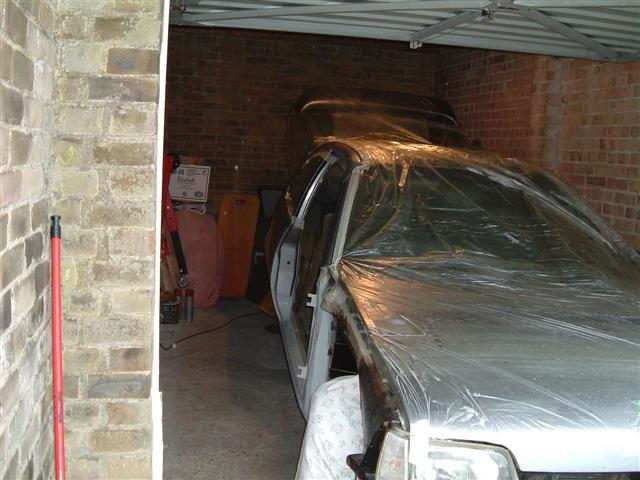
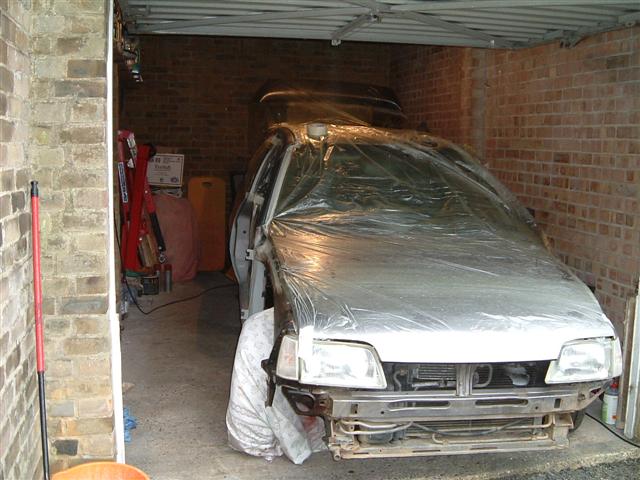
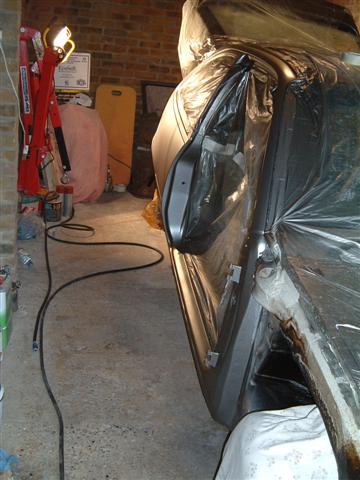
Next the car went back in the garage and the masking film went on, so it's rather like a jumbo tent at the moment.
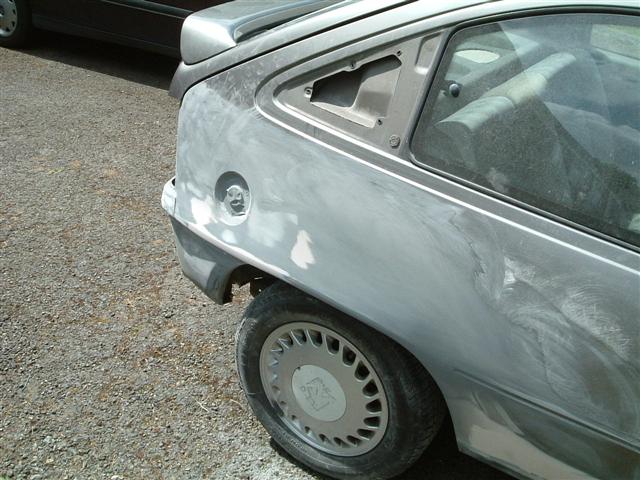
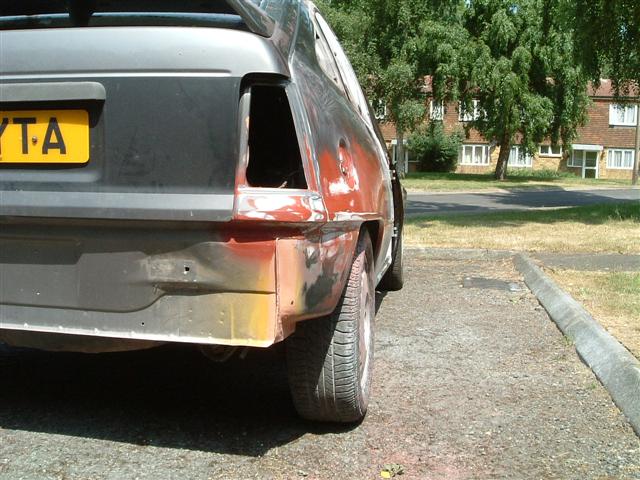
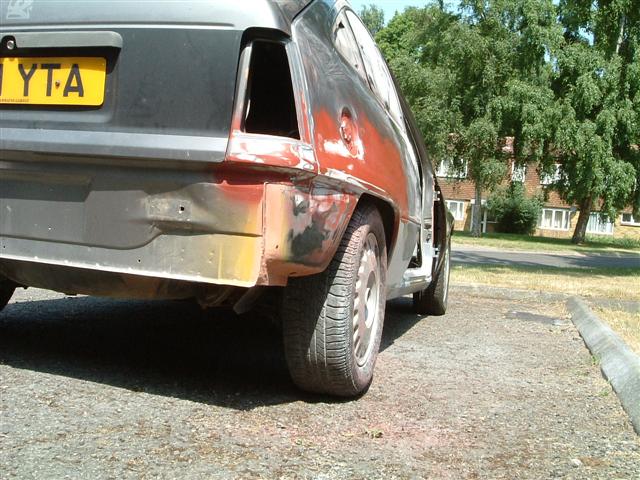
And here's the colour coat, and also where I stopped for the day.
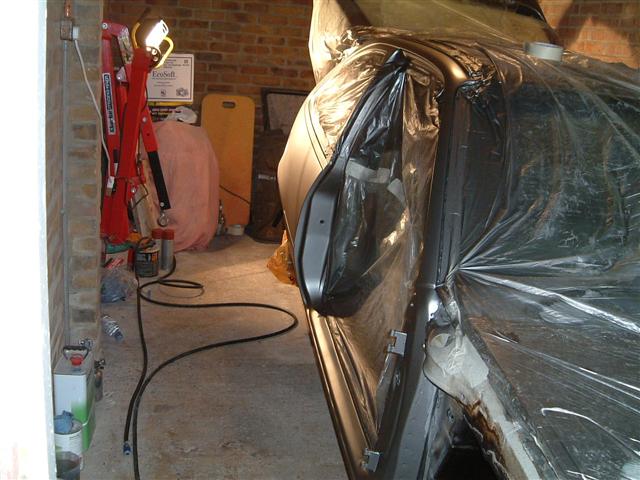
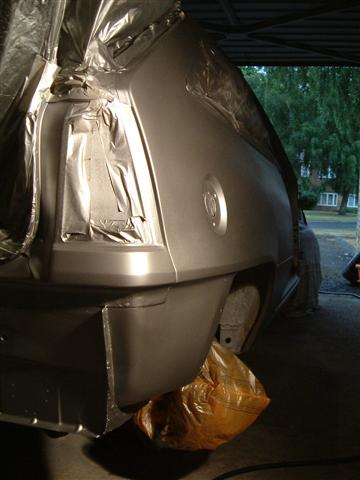
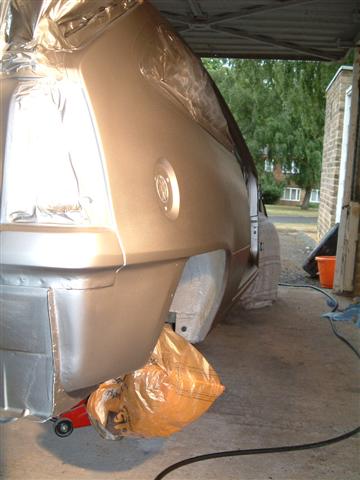
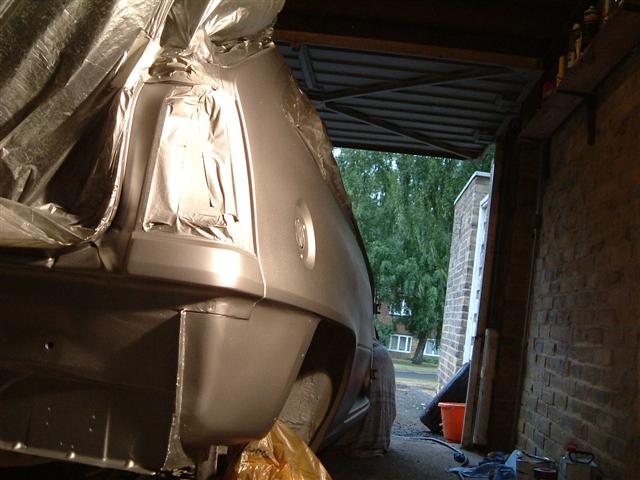
It looks lovely in the photos, but it's not flawless. There are sanding lines visible in the paint and I took the hard decision to put more primer on it and respray it again, properly. Still, it's looking much better. Hopefully you can see why I'm happier with the shape of the arch now?
More to come soon, hopefully...