OSR Arch Replacement - Day 4 (7th May 2005)
UNDER CONSTRUCTION
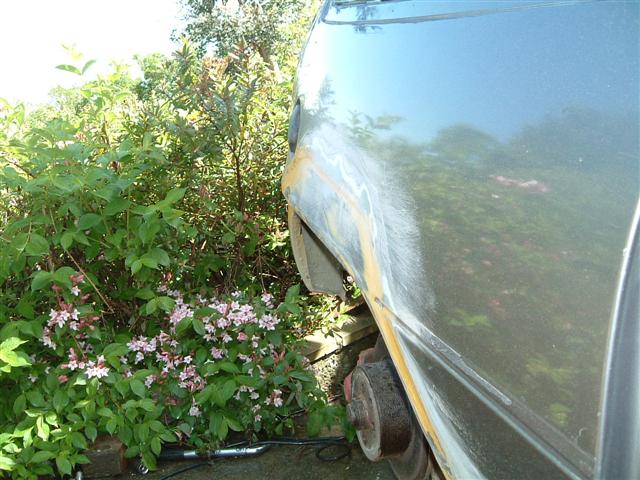
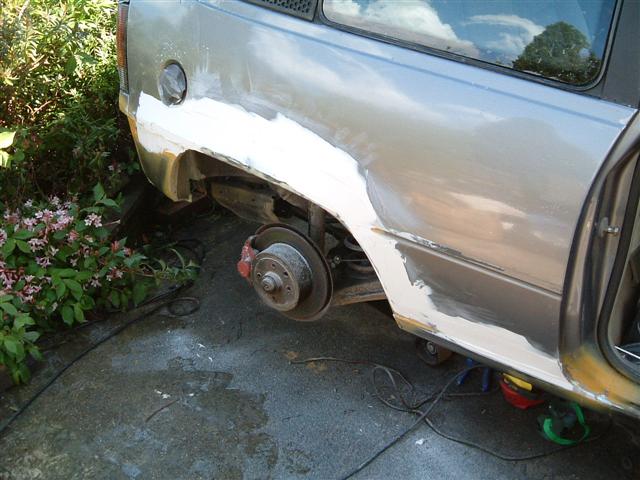
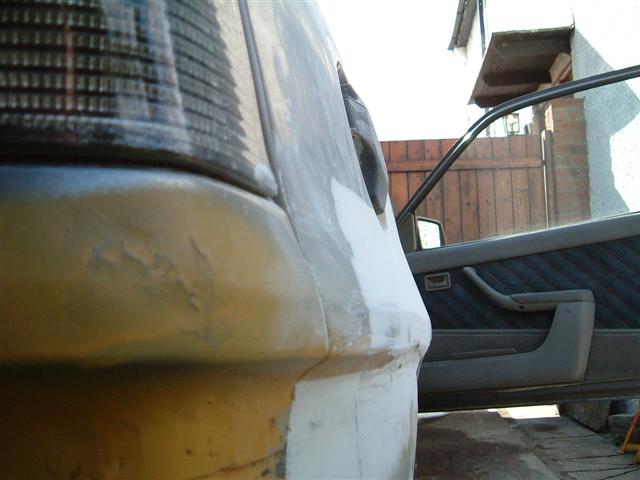
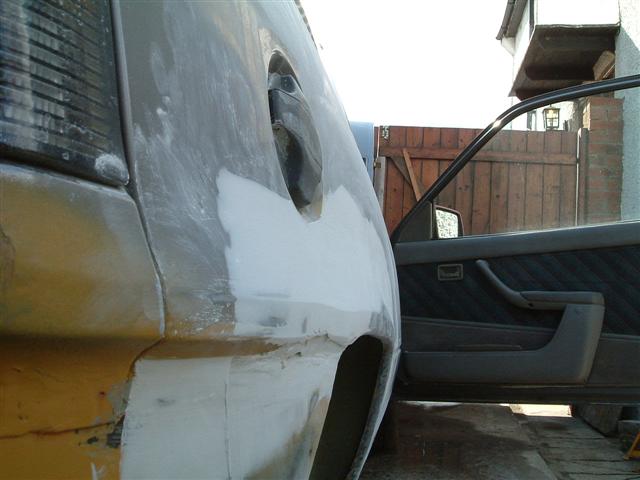
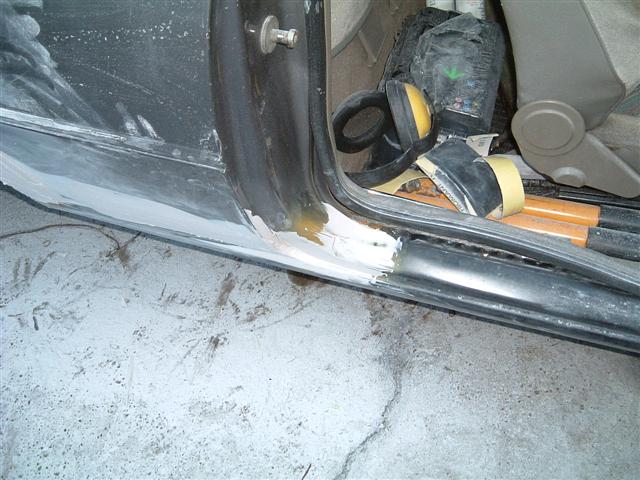
Getting back to grips with this job, as I put primer over the bare metal to protect it until I had time to resume.
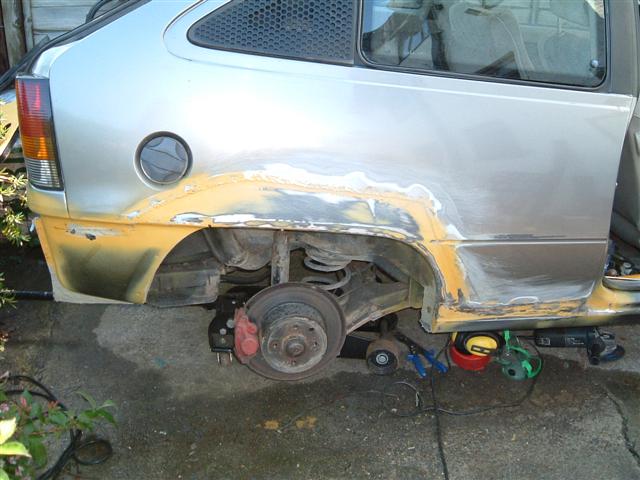
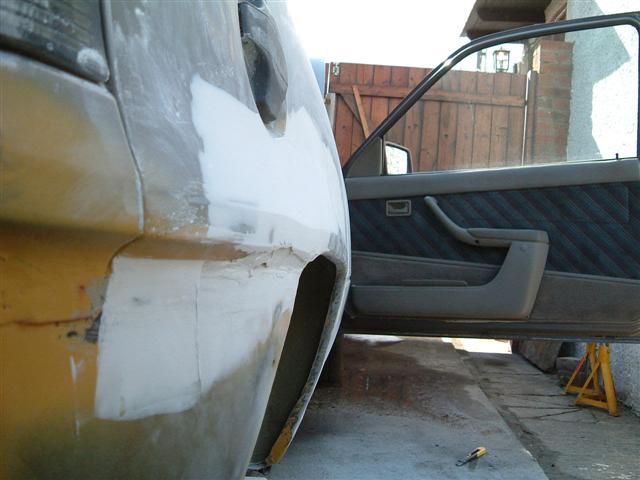
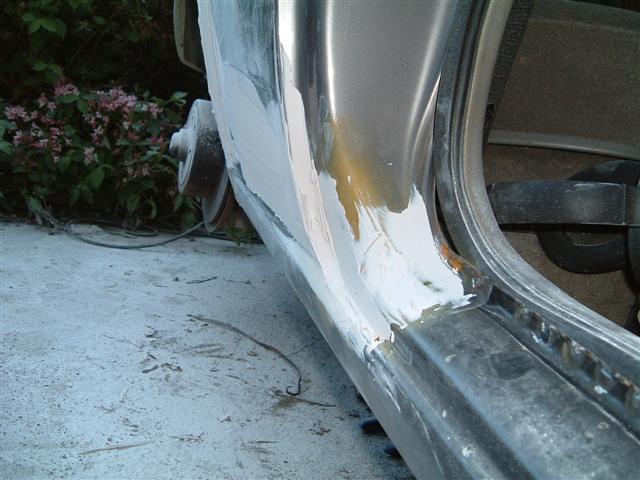
Today was spent grinding the welds down flush and then applying filler over them. Not an easy panel this really, as the line between the top of the arch and the rear panel is very difficult to get straight. Apart from the fact a whole quarter panel would be pretty difficult to fit, it would avoid most of the work I've done here.
First I ground the welds down...
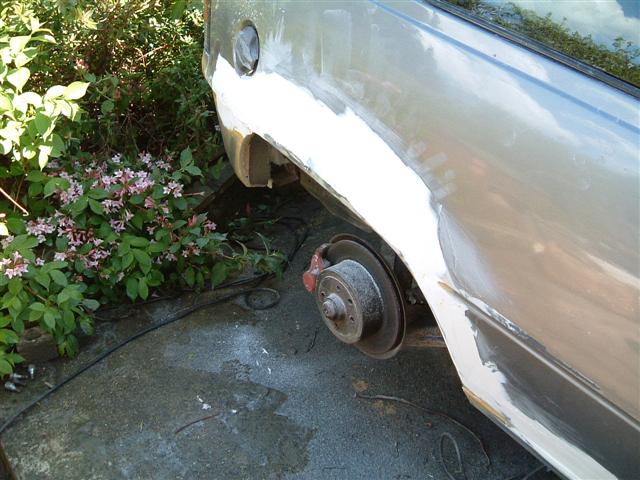
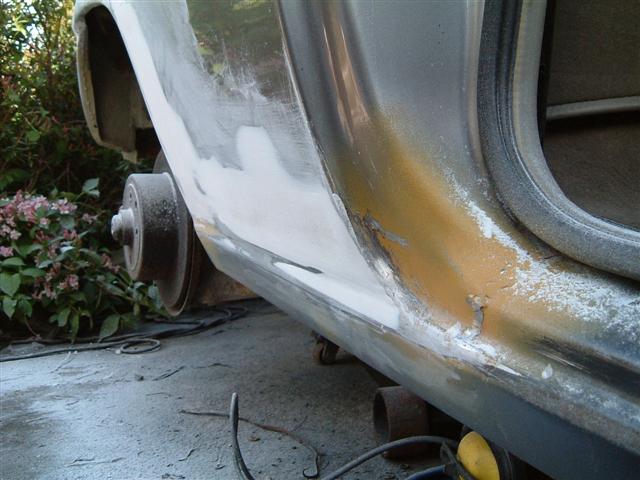
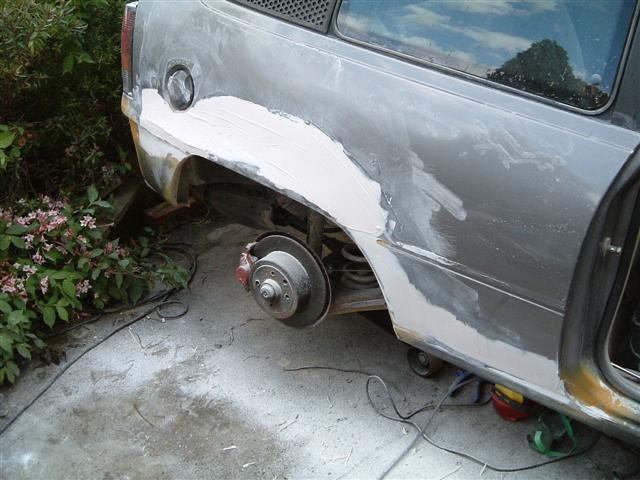
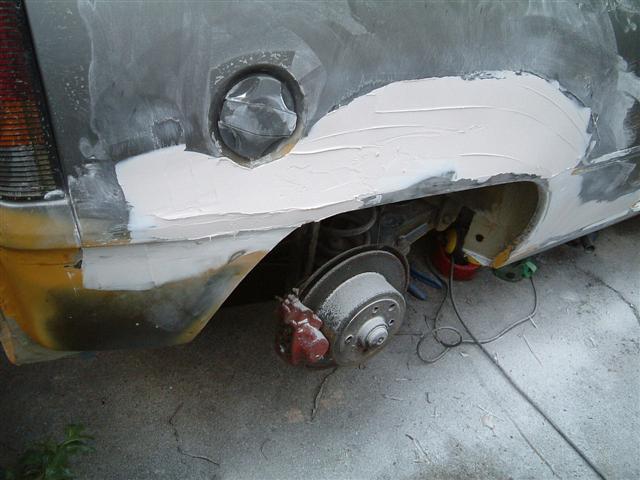
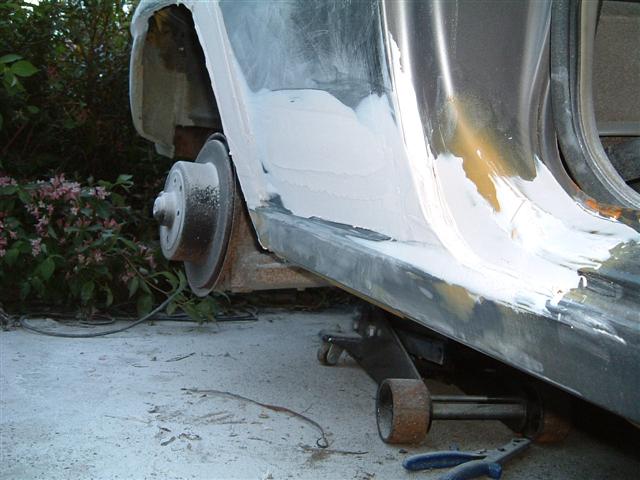
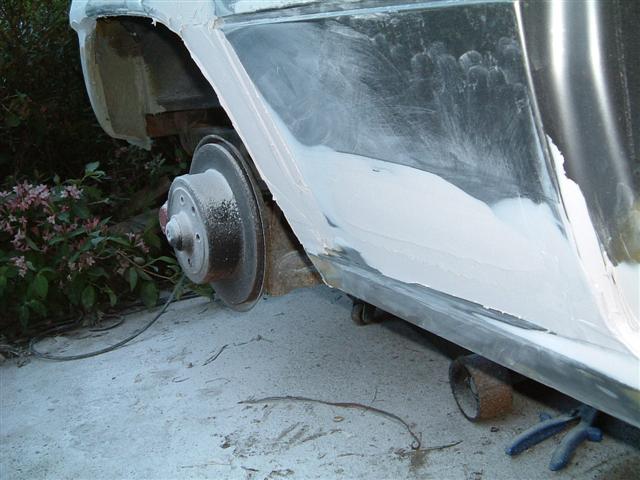
Then I cut the arch lip back to match the inner arch panel - this has the advantage that I will be able to use wider wheels if I want / need to later. I used the manual nibbler again, wonderful tool! When complete, I filed the burrs off and used a small hammer to get the arch lip as even and straight as possible.
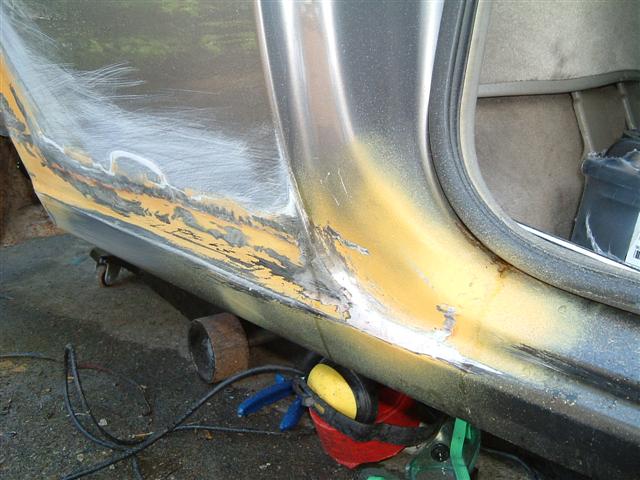
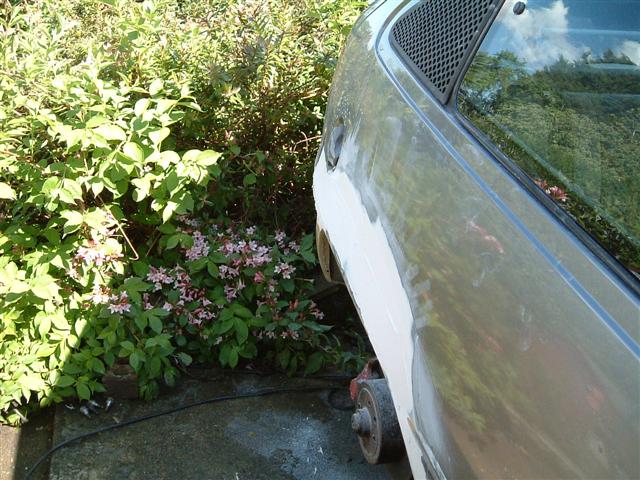
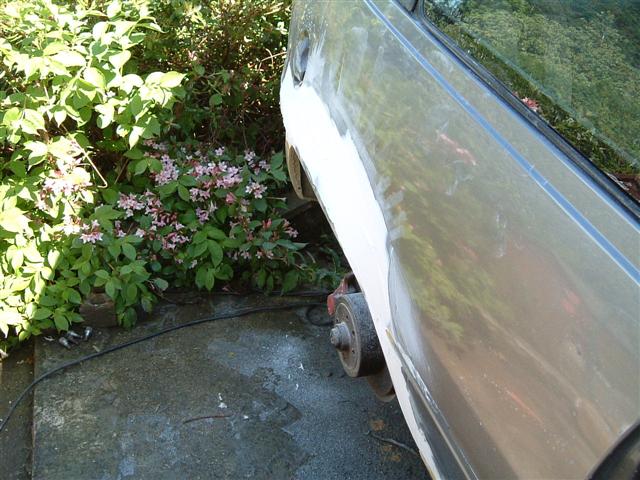
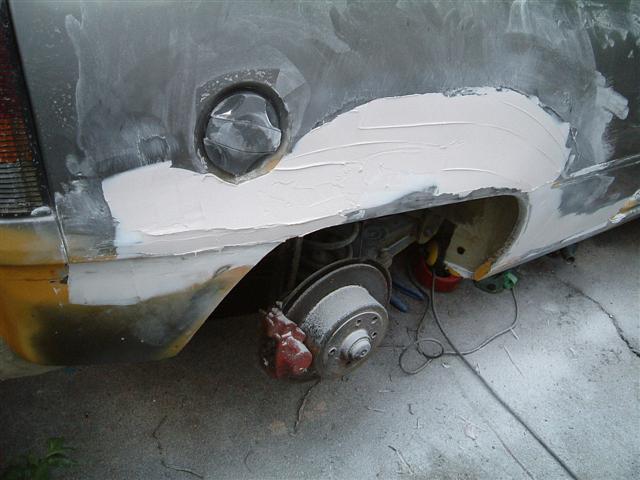
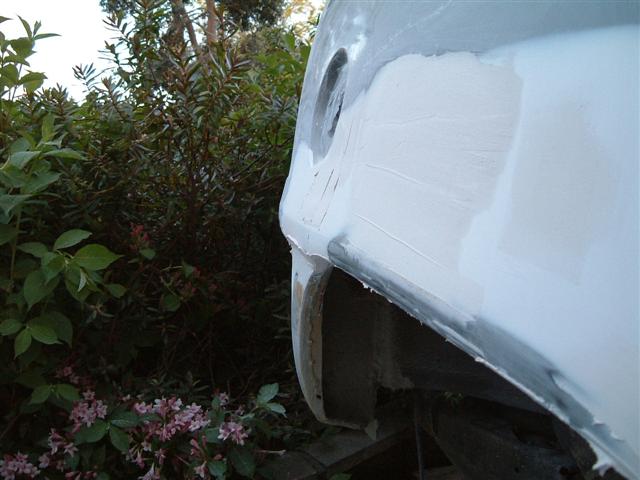
Before filler - very difficult to see any imperfections here, but they are there. The welds across the top of the arch lie in a hollow, which needs filling over. It was deliberate, but didn't need to be so pronounced. Next are some pics showing where I applied the first skim of filler:

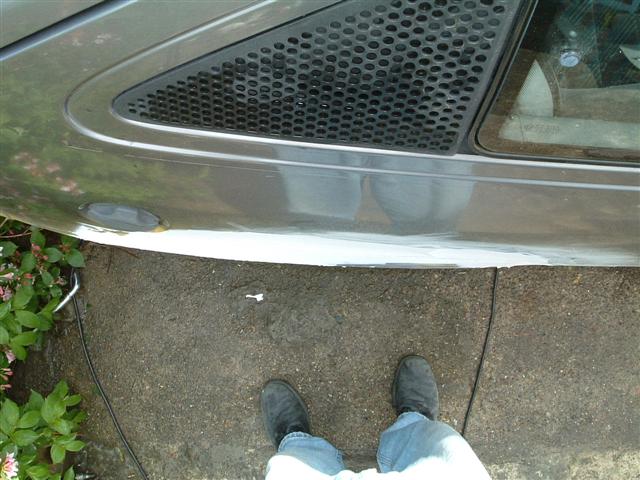
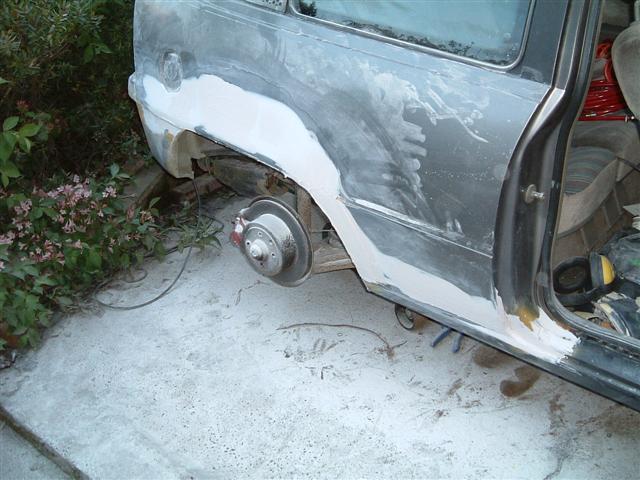
First sanding exercise. Not bad really, you will be able to see the wavy line behind the arch. Partly, the reason for this is because it is difficult to apply filler evenly and also to sand evenly around the filler cap, although I improved this a lot using gaffer tape instead of the filler cap later. ;-)
The filler used is made by Bodyline and is available at paint factors. It's slightly different to use than the Isopon P38 stuff you get at Halfords, as it is slightly runnier and easier to apply. Good to sand too, so that means the duff sanding is all my fault!

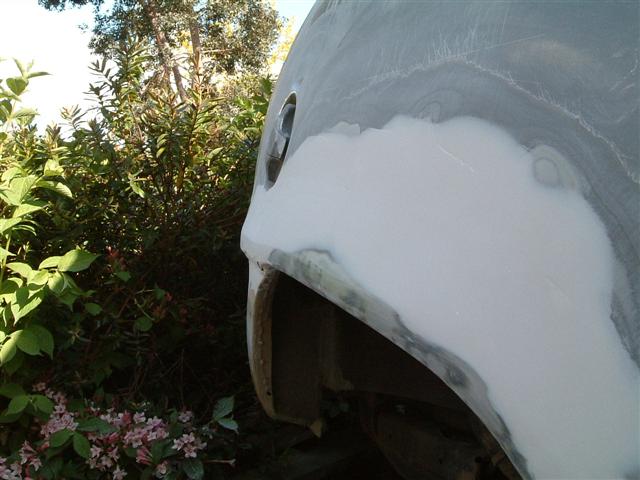
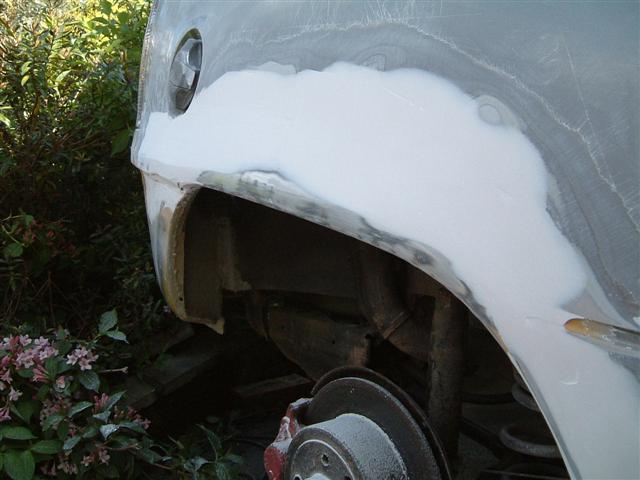
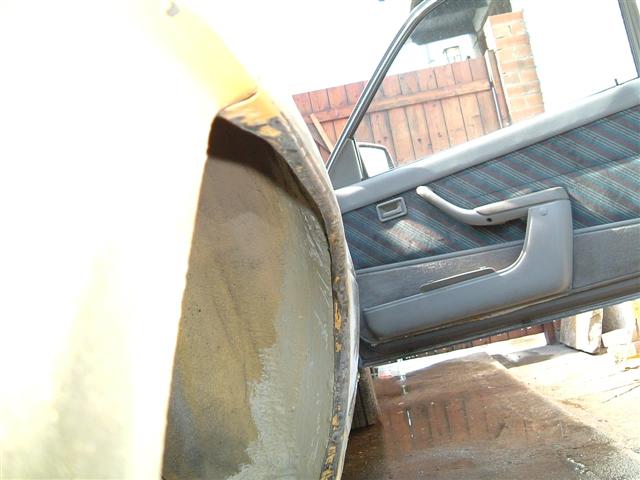
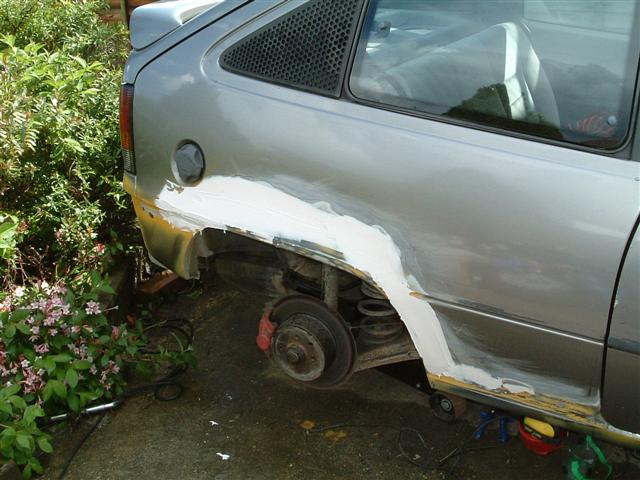
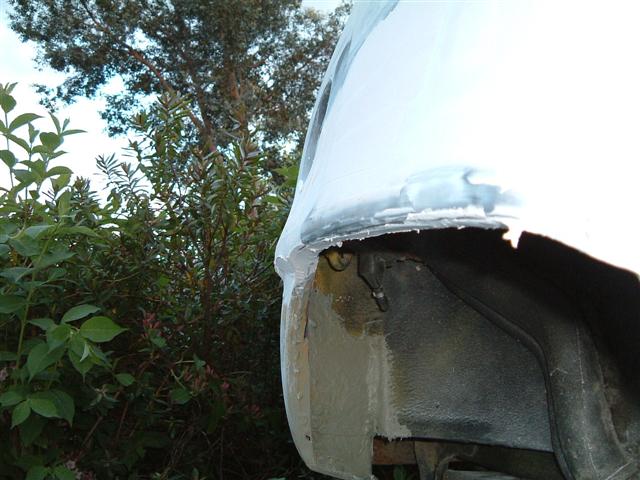
Before filling properly - I used the dregs of the last mix to start here. Not really necessary really as this will be hidden behind the rear bumper soon. These pics were taken to illustrate the line across the top of the arch. I got better with practice here, the best way to go seems to be to use a block to sand the vertical part, holding at the same angle as the portion behind the arch, but leaving it a bit proud of where it needs (eventually) taking down to. This shows where the panel above is too thick with filler and where it's too thin. Too thick and the line moves upwards, too thin and it moves down into the bit that's supposed to be flat.
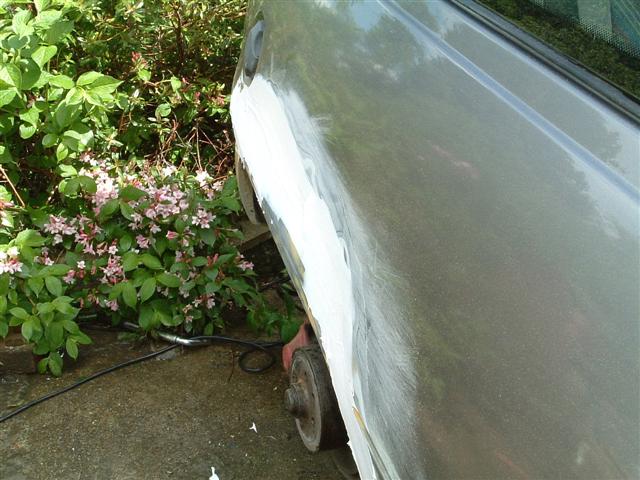
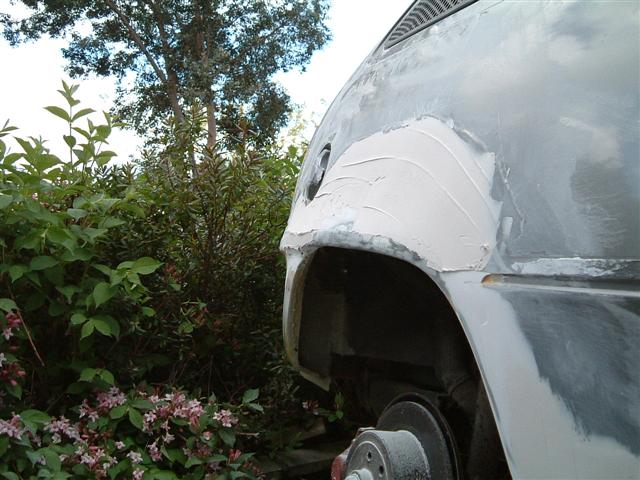
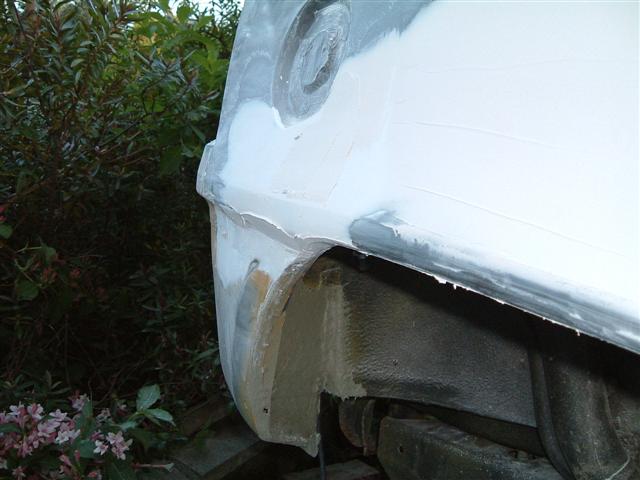
Second filler application. Here I've brought the top line up to meet the high point in the panel. Always better to use too much, as it will sand off again, but with too much, the sanded filler won't have any hollows...
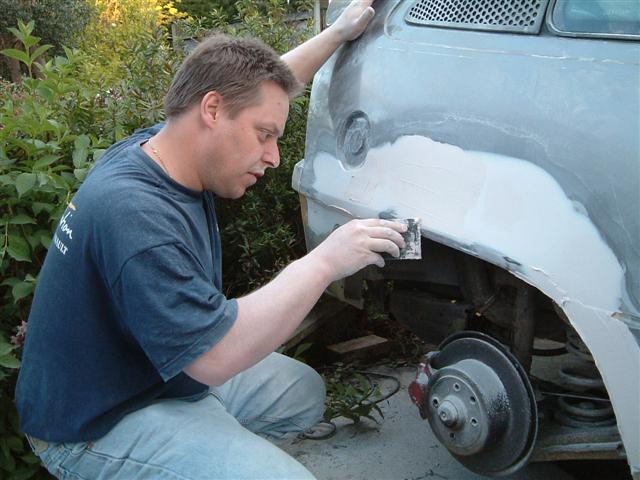
My other half came out to laugh at me covered in filler dust. While she was there she took some photos to laugh at later, this is the only one I'm putting in. ;-)
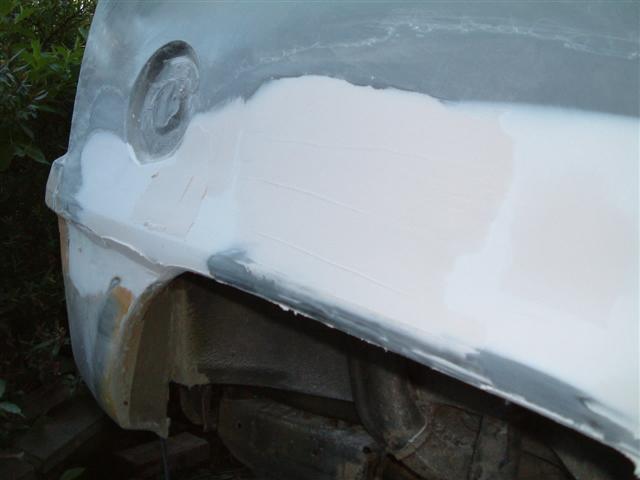
Third filler going on. You'll see if you look carefully that I got the top line of the arch more or less right the last time, so I haven't filled over it.
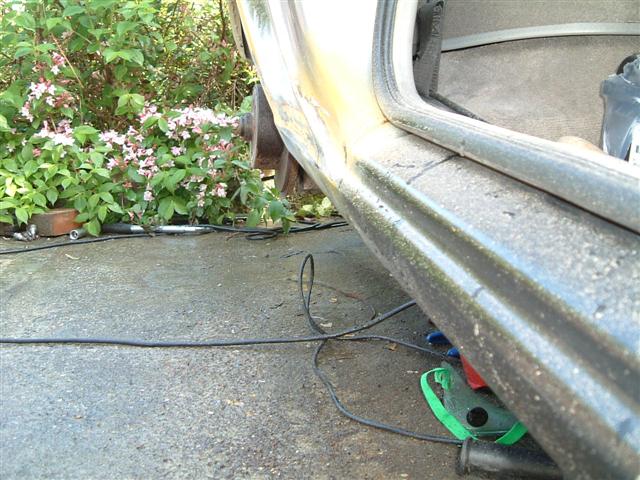
A small skim around the inside lip of the arch will hide the spot welds and grinder marks, but remember that 95% of this will be sanded out again tomorrow.

Tomorrow I hope will be the last day of filler and sanding, hopefully a single sanding session should get this ready for primer...