OSR Arch Replacement - Day 3 (3rd April 2005)
UNDER CONSTRUCTION
A very full day here, almost 16 hours spent doing something or other and a quick trip to Homebase for more clamps and Mole grips.
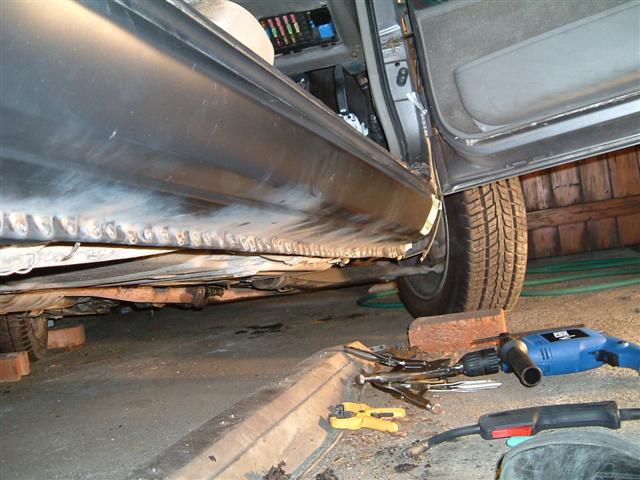
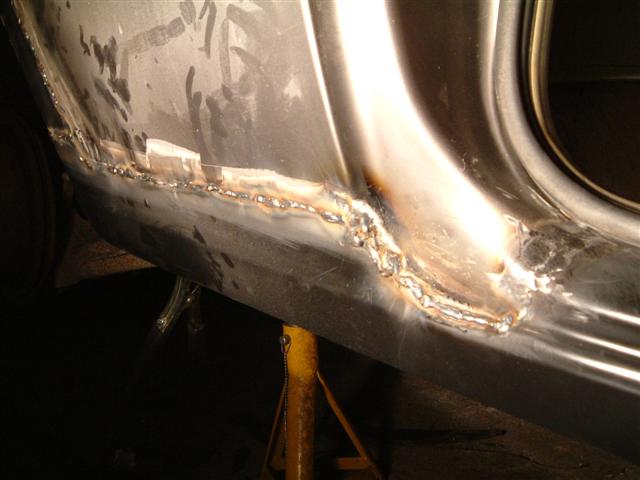
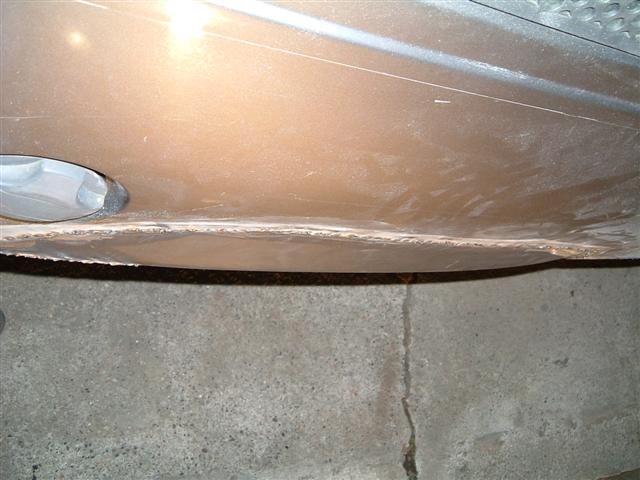
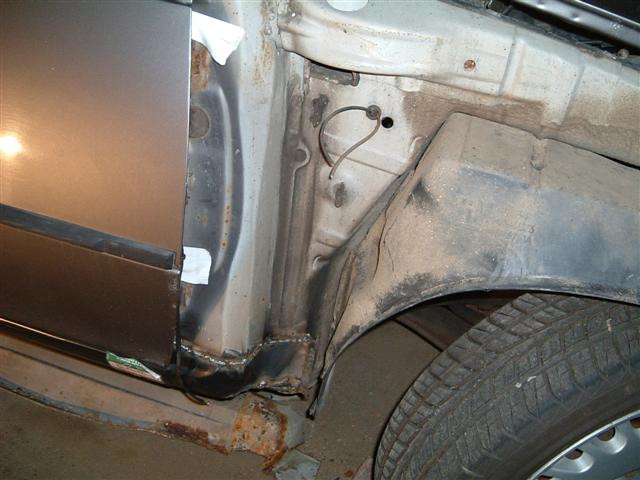
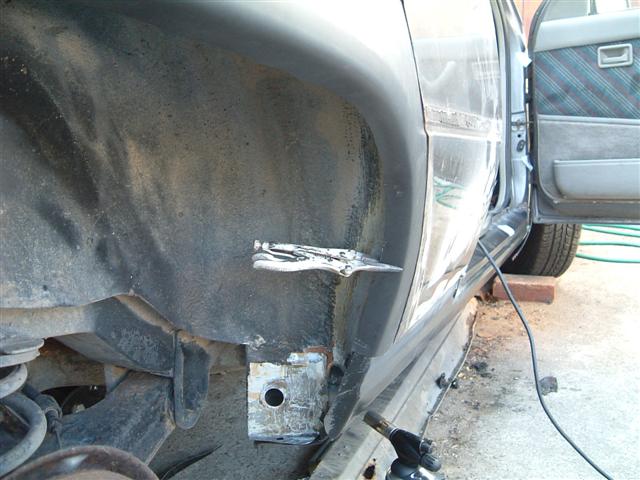
First to sort out the bit I was too scare to touch last night - the bottom corner of the door. This had previously lined up pretty well, but for some reason it had gone a little awry and the sill was sitting too low, despite being OK before. I'm thinking I shouldn't have sat on the sill with only the tio half welded. :-(
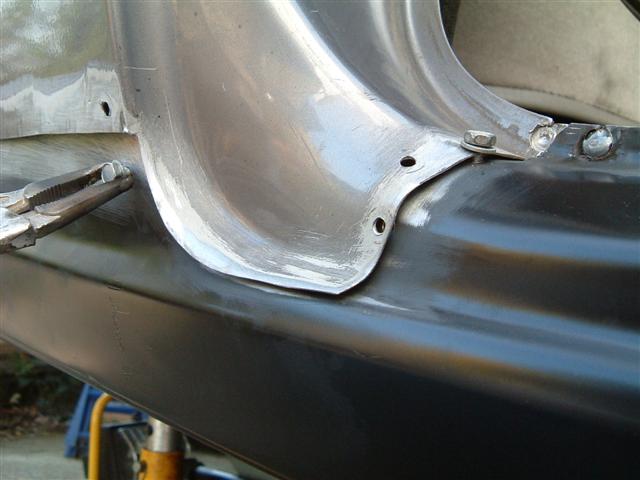
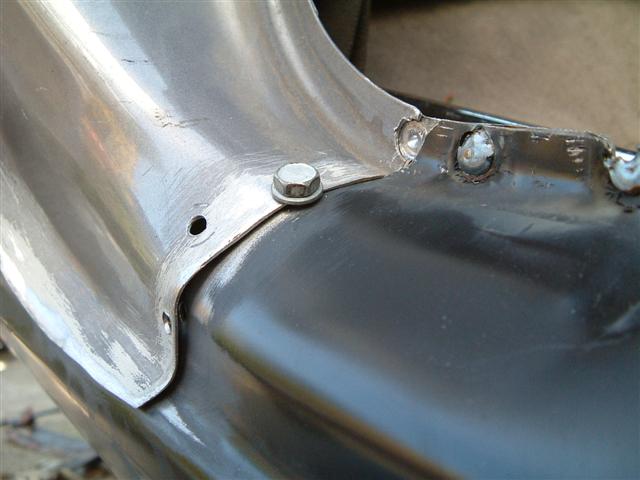
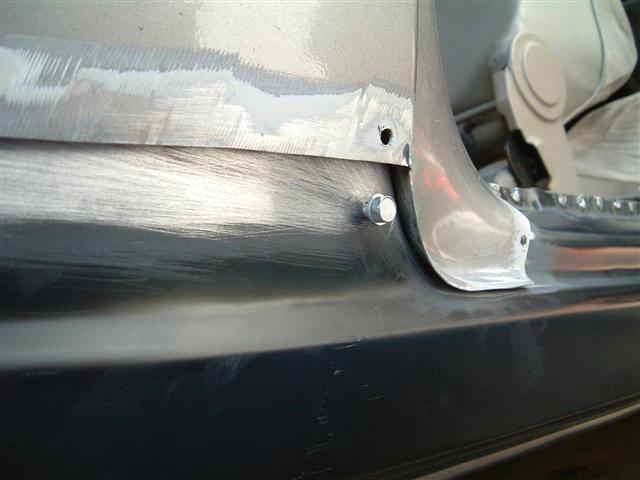
This on the face of it could be solved two ways - bash it with a hammer and risk deforming it, or the way I did it - drilling through both panels and drawing them together using a self-tapping bolt. The first and second pictures show how effective this was and I repeated the process a couple more times, welding a short seam each time until it met up all the way down to the bottom.
The bolt in the sill below the join line was my attempt at pulling it straight, but this failed. It would have been do-able with another person holding the panel out from the inside, but alas I have only two arms. In the end, I saved this bit until last, making the most use of the flexibility in the panel while I stated on the inner and outer arch.
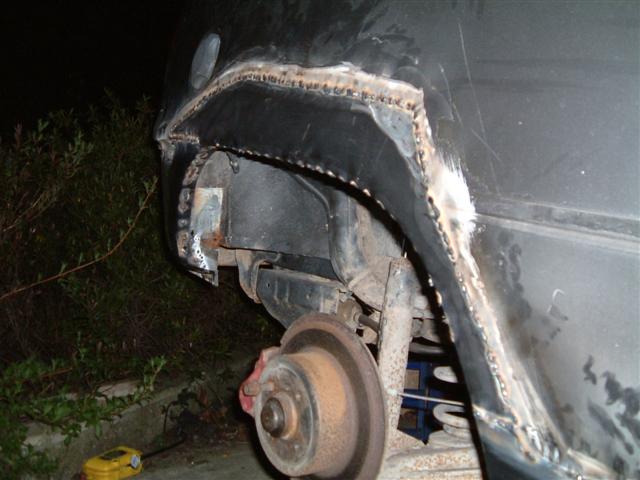
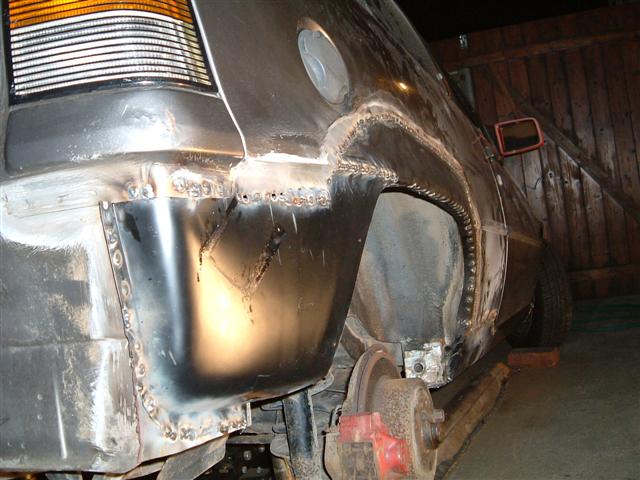
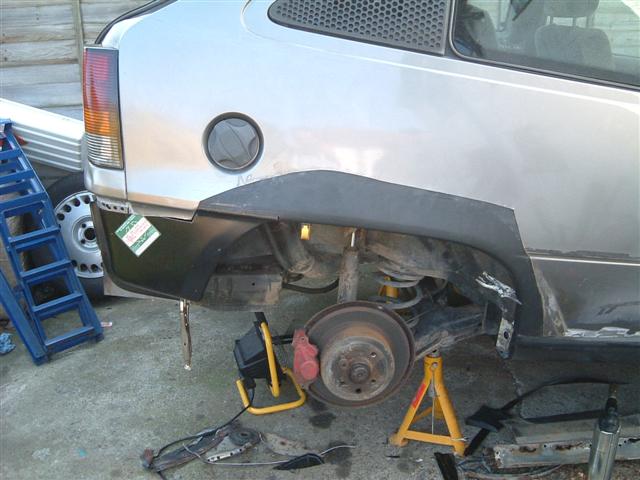
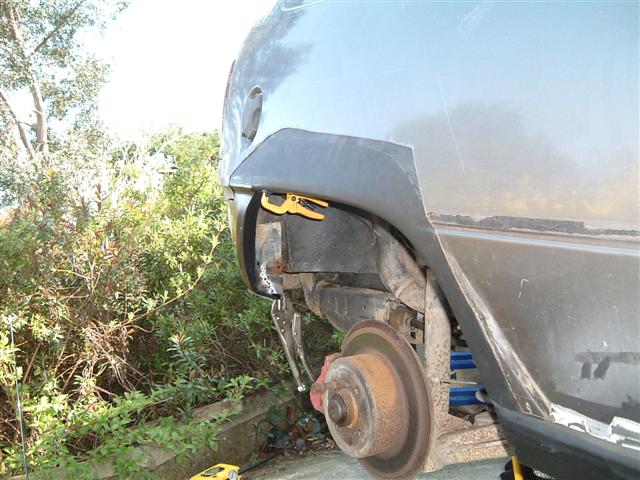
The first job was to find a combination of positions of the inner and outer arch to make them meet up and touch each other along the wheel arch line, which sounds easy, but was very fiddly, especially with only two pairs of Mole grips. Homebase solved that problem and I set to work. The most difficult part was matching the panels to each other because I had two (as far as I knew) un-bent panels that were different shapes - which one is right?
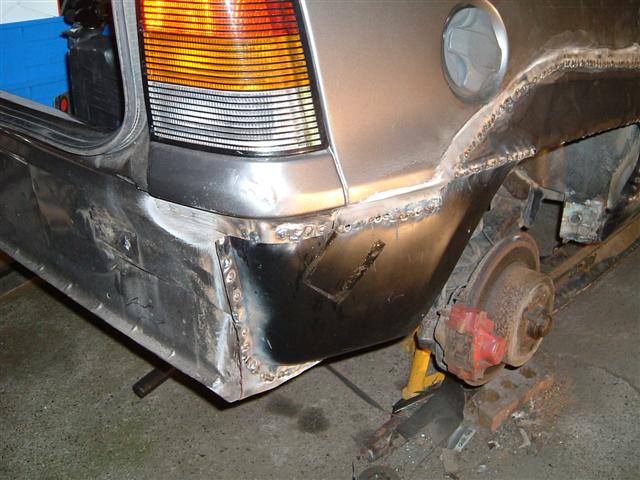
Starting at the rear corner, I clamped the corner panel in position, then clamped the outer arch to the inner at the bottom, but so that the sill lined up with the inner arch and the swage line lined up across the original and new panels. Then it became more obvious that the inner arch was the right shape and the outer arch was a poorer fit, and oddly was also 10mm too short! Generally the angle of the arch lip was too open on the outer panel, possibly to make it easier to fit, and a certain amount of rolling and bending made it possible to clamp it into position. Quite a lot of wiggling about followed until I was happy it all lined up as well as it was going to and I tack-welded the inner arch into place from inside the wheel arch. Three small welds for now, one at the top, one at the bottom-front and one about half way up.
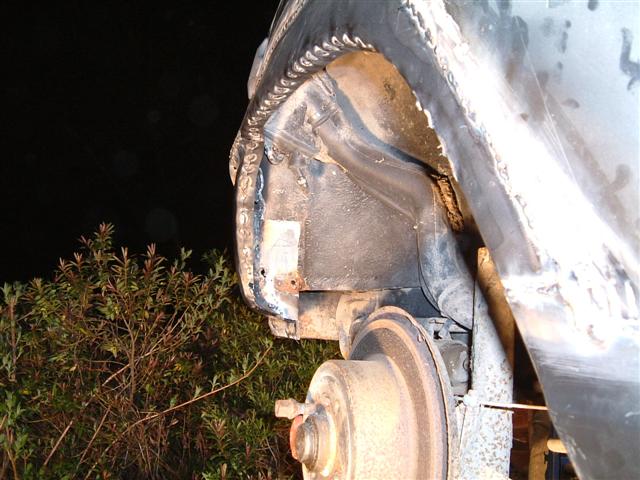
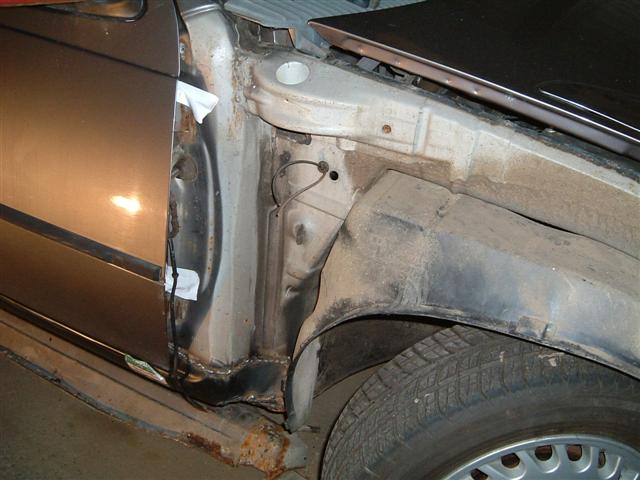
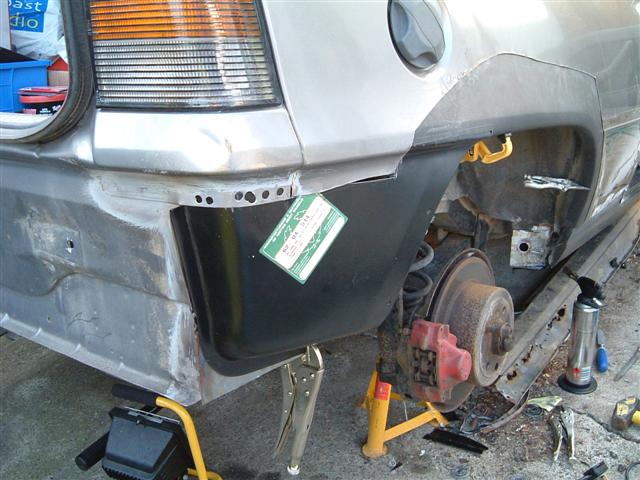
With the inner arch in place I removed the outer and trimmed the existing inner arch around the back quarter to remove some of the extra panel I'd previously put in there. That allowed me to fit the quarter panel into place and bend the inner arch panel round to meet it and the existing metal. By now I was beginning to wonder if all the panels had accidentally been run over before I bought them, but things were getting easier. With the rear quarter in place it became very obvious that the outer skin was the wrong length, as at the front it met up with my original marks, but it was about 8-10mm out along the rear edge. As I was replacing the lower corner anyway, the sensible option was to cut away the lower rear part of the skin panel and use the better one from the corner panel instead. This made things much easier and I got all the panels on, clamped and aligned before tack welding the inner arch into place along the rear corner.
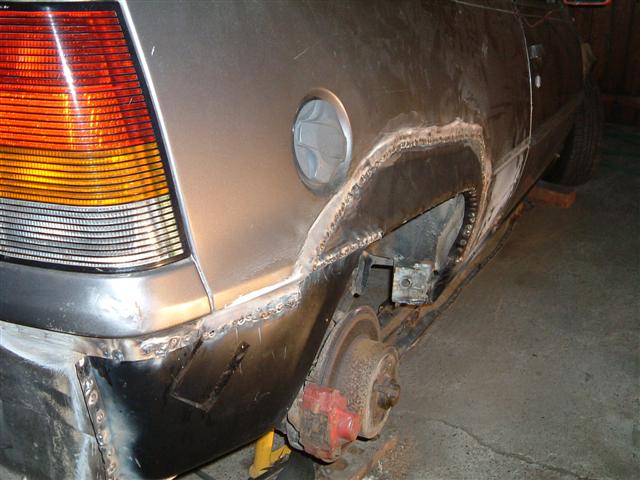
Then with the outer panels removed (again!) I welded the inner arch in properly. Working on the outside, the easy bit was to weld in 1-inch runs along the top and down the front as far as the vertical section, where I had to switch to the inside and sit with my head in the wheel arch. That was more fiddly and took quite a bit of time, as seeing and doing weren't quite possible at the same time. A couple of welds missed their targets and had to be re-done but there's some 'strengthening metal' in there now and it shouldn't hurt the 0..60 time too much. ;-)
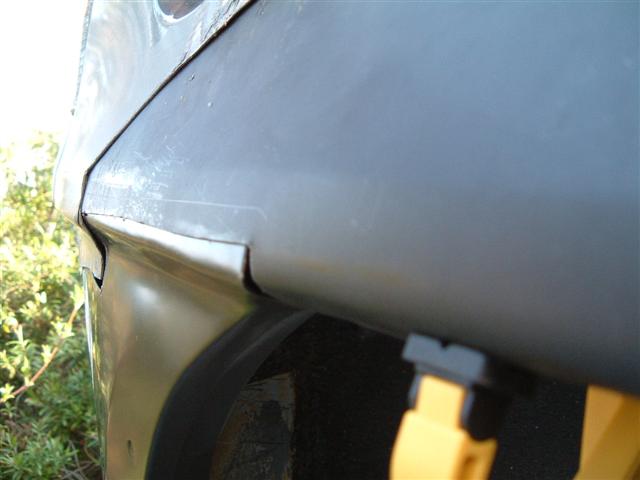
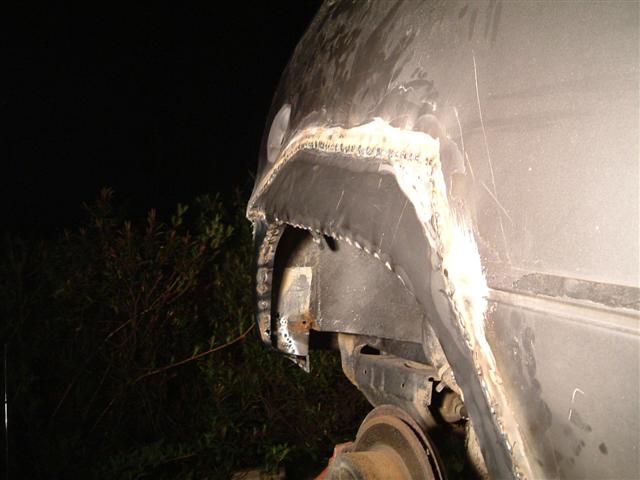
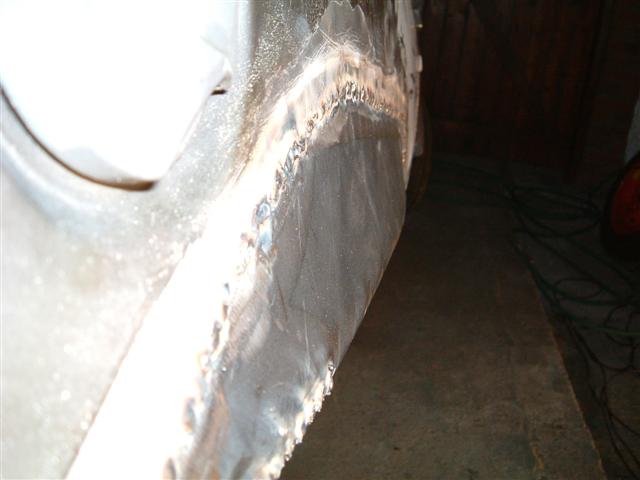
With the inner arch welded in securely, it was time to start finalizing the alignment of the outer skins. Given I wasn't going to get a second go at this, I spent some time and only put the tack welds in after a lot of checking. Four tack welds to start with, one at the bottom of the rear corner to the inner panel, a clamp along the rear seam. The second weld went in at the swage line at the front and the third at the top-rear corner of the arch, securing the outer arch skin and the front edge of the rear corner panel to the inner arch. The last tack weld went down onto the lower-front edge and I then stood back to check it. Seemed OK so I carried on and drilled holes at 1-inch intervals along the arch itself, before clamping and spot-welding repeatedly to bond the inner and outer arches along their entire length.
<more later...>