OSR Arch replacement - Day 2 (2nd April 2005)
UNDER CONSTRUCTION
This is what happened on Day 2. First I'd spent a couple of hours earlier in the week looking at my previous handiwork and concluded that it was going to be unpleasant and pointless trying to patch up the inner arch, so I decided to spend a little more money and buy repair panels for it.
Off to Maidstone (Kent Car Panels and Paint) for an inner arch, lower rear corner and full sill.
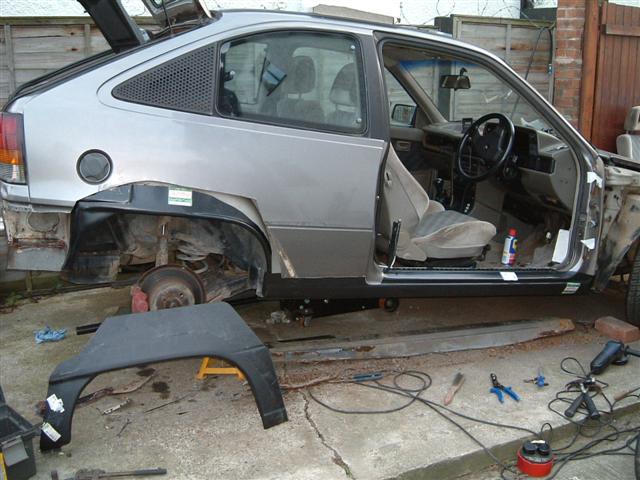
Today's efforts were mainly centred around replacing the sill, which despite my earlier confidence was looking a little rough in places and I managed to butcher a couple of holes in it with a screwdriver on my 'inspection'. First I drilled out all the spot welds (with my Gucci new spot weld removal drill bits) holding the top and bottom edges of the sill to the chassis, then, with the door removed, I offered up the new sill to mark its dimensions onto the existing panels, so I could see where to cut.
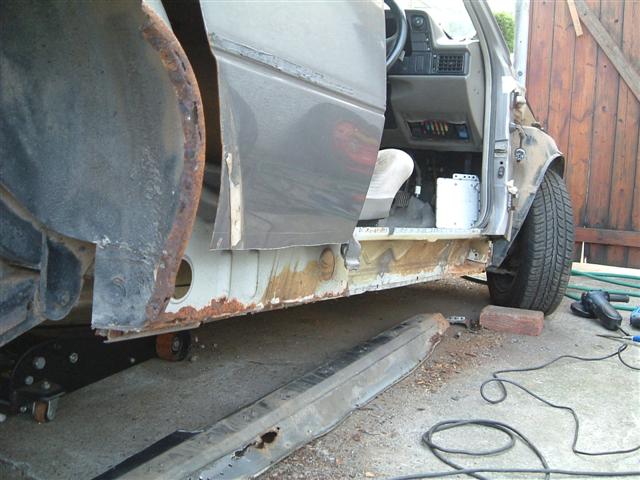
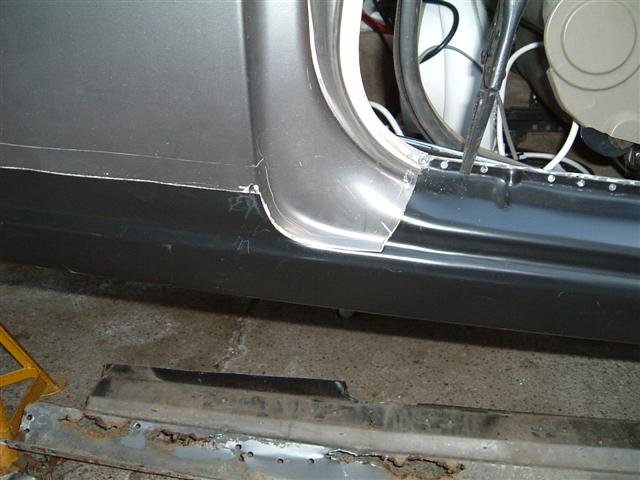
Next, cutting out the old sill. This job is made MUCH easier with the right tools. I used an angle grinder with a cutting disc for the complex shaped bits around the door frame, then a manual nibbler to cut along the bottom of the rear quarter panel in front of the arch. With the first rough cuts made, I gently chiseled through the swarf left behind by the grinder and removed the sill complete. Time for a sigh of relief now, as the inner panel is really clean and rust free. To complete the preparation for the sill, I trimmed the lower corner of the door frame up neatly so that there would be approx 10mm of overlapping metal between it and the new sill and experimented with the sill fitted inside and outside the original metal. It fitted better inside, so the trimming was based on that. At the front end, my main aim was to ensure that the section of panel around the bottom of the A-pillar would reach and line up, and that the mounting hole for the front wing would correspond at the inner sill.
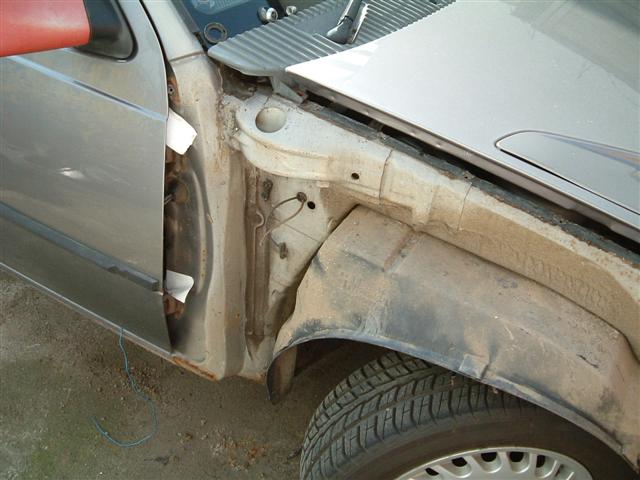
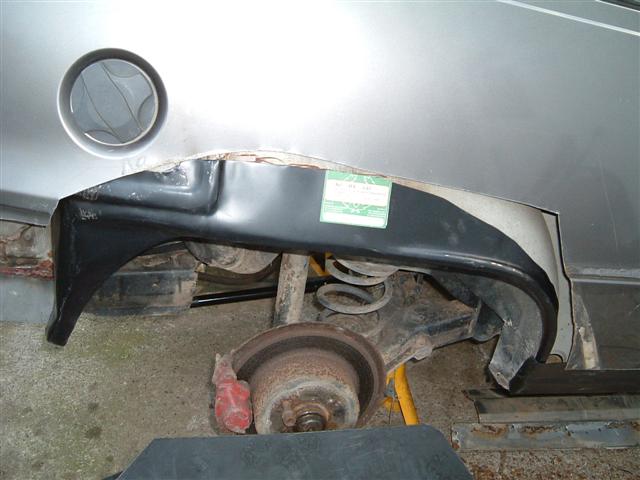
Happy now with the fit of the sill, I started nibbling out the inner arch, just removing the lip section to make it easier (read possible) to try the inner arch for fit. I can see this is going to be difficult a mile off, there's no obvious natural place for this to sit and it will have to be done in conjunction with the fitting of the outer arch.
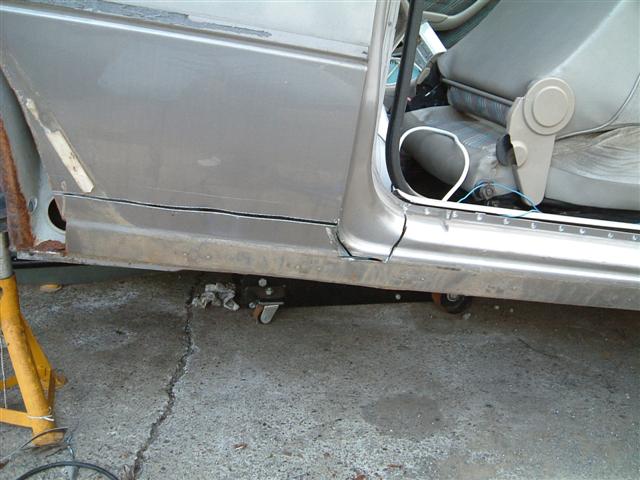
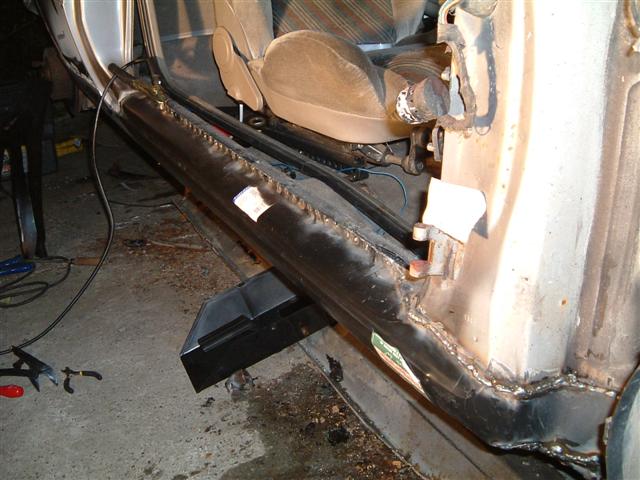
Next the welding started. First I clamped the sill at the top edge in the door frame, as this is the most critical area to line up - the height of the sill moulding line depends on this as does its fit with the door. Then, once happy, it gained two spot welds, one at each end. These can be drilled out if something moved or got misaligned. Fortunately that wasn't necessary so I clamped the centre and bunged another spot in there. No going back now! To complete the seam, I kept clamping at the centre points between the nearest adjacent welds and adding another weld - I figured this would reduce the chance of the panel ending up misaligned part way down, as welding isn't a kind process unless you're very good at it.
The front end was considerably more fiddly, and you'll see from the amount of weld deposited that I had some fun. First I tacked the bottom edge of the sill to the sill rail to ensure it was lined up correctly and that welding the top at the front wouldn't force ot out of line. Then to weld the top edge, the method I used was to hold the panel against the base of the A-pillar and tack a spot weld in place, then move about an inch and do the same until I got to the flange at the end where it meets up with the base of the bulkhead. Some tapping with a hammer and chisel formed it into the correct shape and I finished with a continuous series of ~1 inch welds along the top edge, as required for MOT.
To clear this one up now - MOT regulations currently require welded repairs to be equivalent to the original build of the car. Where spot welds existed before, then spot welding is permissible at 1-inch intervals or less. Where a panel is cut and joined, then a continuous weld must be used to maintain the panel as one single piece of metal. This is what I've done here, spotting top and bottom, and seam welding the ends.
That's where I left it for today, the inner arch is next, before I secure the rear end of the sill in place - I need some flexibility to let me move it all about at the moment.
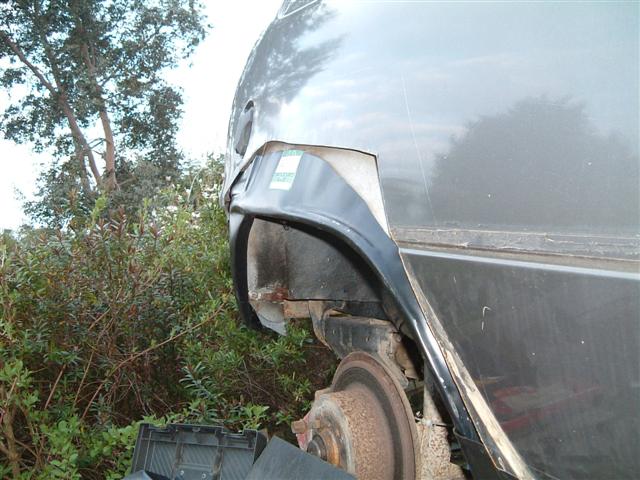
You'll see that I have also taken the opportunity to revise where I will weld the outer arch panel in - replacing the inner arch demands access for welding and the welds will need to be continuous for strength and sealing, so more metal had to go. I'm not sure if I'll go higher yet, but I'm hoping that will be enough.