![[Abs-Zero]](https://www.abs-zero.com/wordpress/wp-content/uploads/2013/11/abs-zero.jpg)
 The car came with a Nokia CK-7W Bluetooth car kit fitted, so the main thing missing is a phone holder and charger – what I wanted was something neat and unobtrusive that didn’t rely on the cigarette lighter socket and leave trailing wires. I’ve rarely bothered with these in the past as I’ve rarely had any handsfree kit fitted and so the phone has simply stayed in my pocket or rucksack.
My last phone purchase was a Samsung Galaxy S5, which has the option of a wireless charging back – rare as the proverbial rocking horse droppings, but some patience and a regular search on eBay found a second hand white back that Samsung simply call “S-Charger case” and so I set about finding a suitable in-car charger-holder. Easy perhaps, but they generally look awful. Ebay again presented a solution (link below) so I bought it and tried it out in the Focus using its windscreen suction mount – great, it charged the phone at a solid 620mA and didn’t get hot, so a good start. A few sunny days later and I found it laid on the dashboard; evidently not made for use in warm weather, the back of the suction cup had torn away. I don’t like suction mounts much anyway and had always intended to find a better mount for the Astra.
So here’s my solution, with photos of fitting and a shopping list, if anyone wants to replicate it.
Parts:
- Nokia CK-7W handsfree kit, wired into the car EHU loom. I’ll probably swap this out to fit the Vauxhall UHP module at some point soon, but it’s a very good kit anyway.
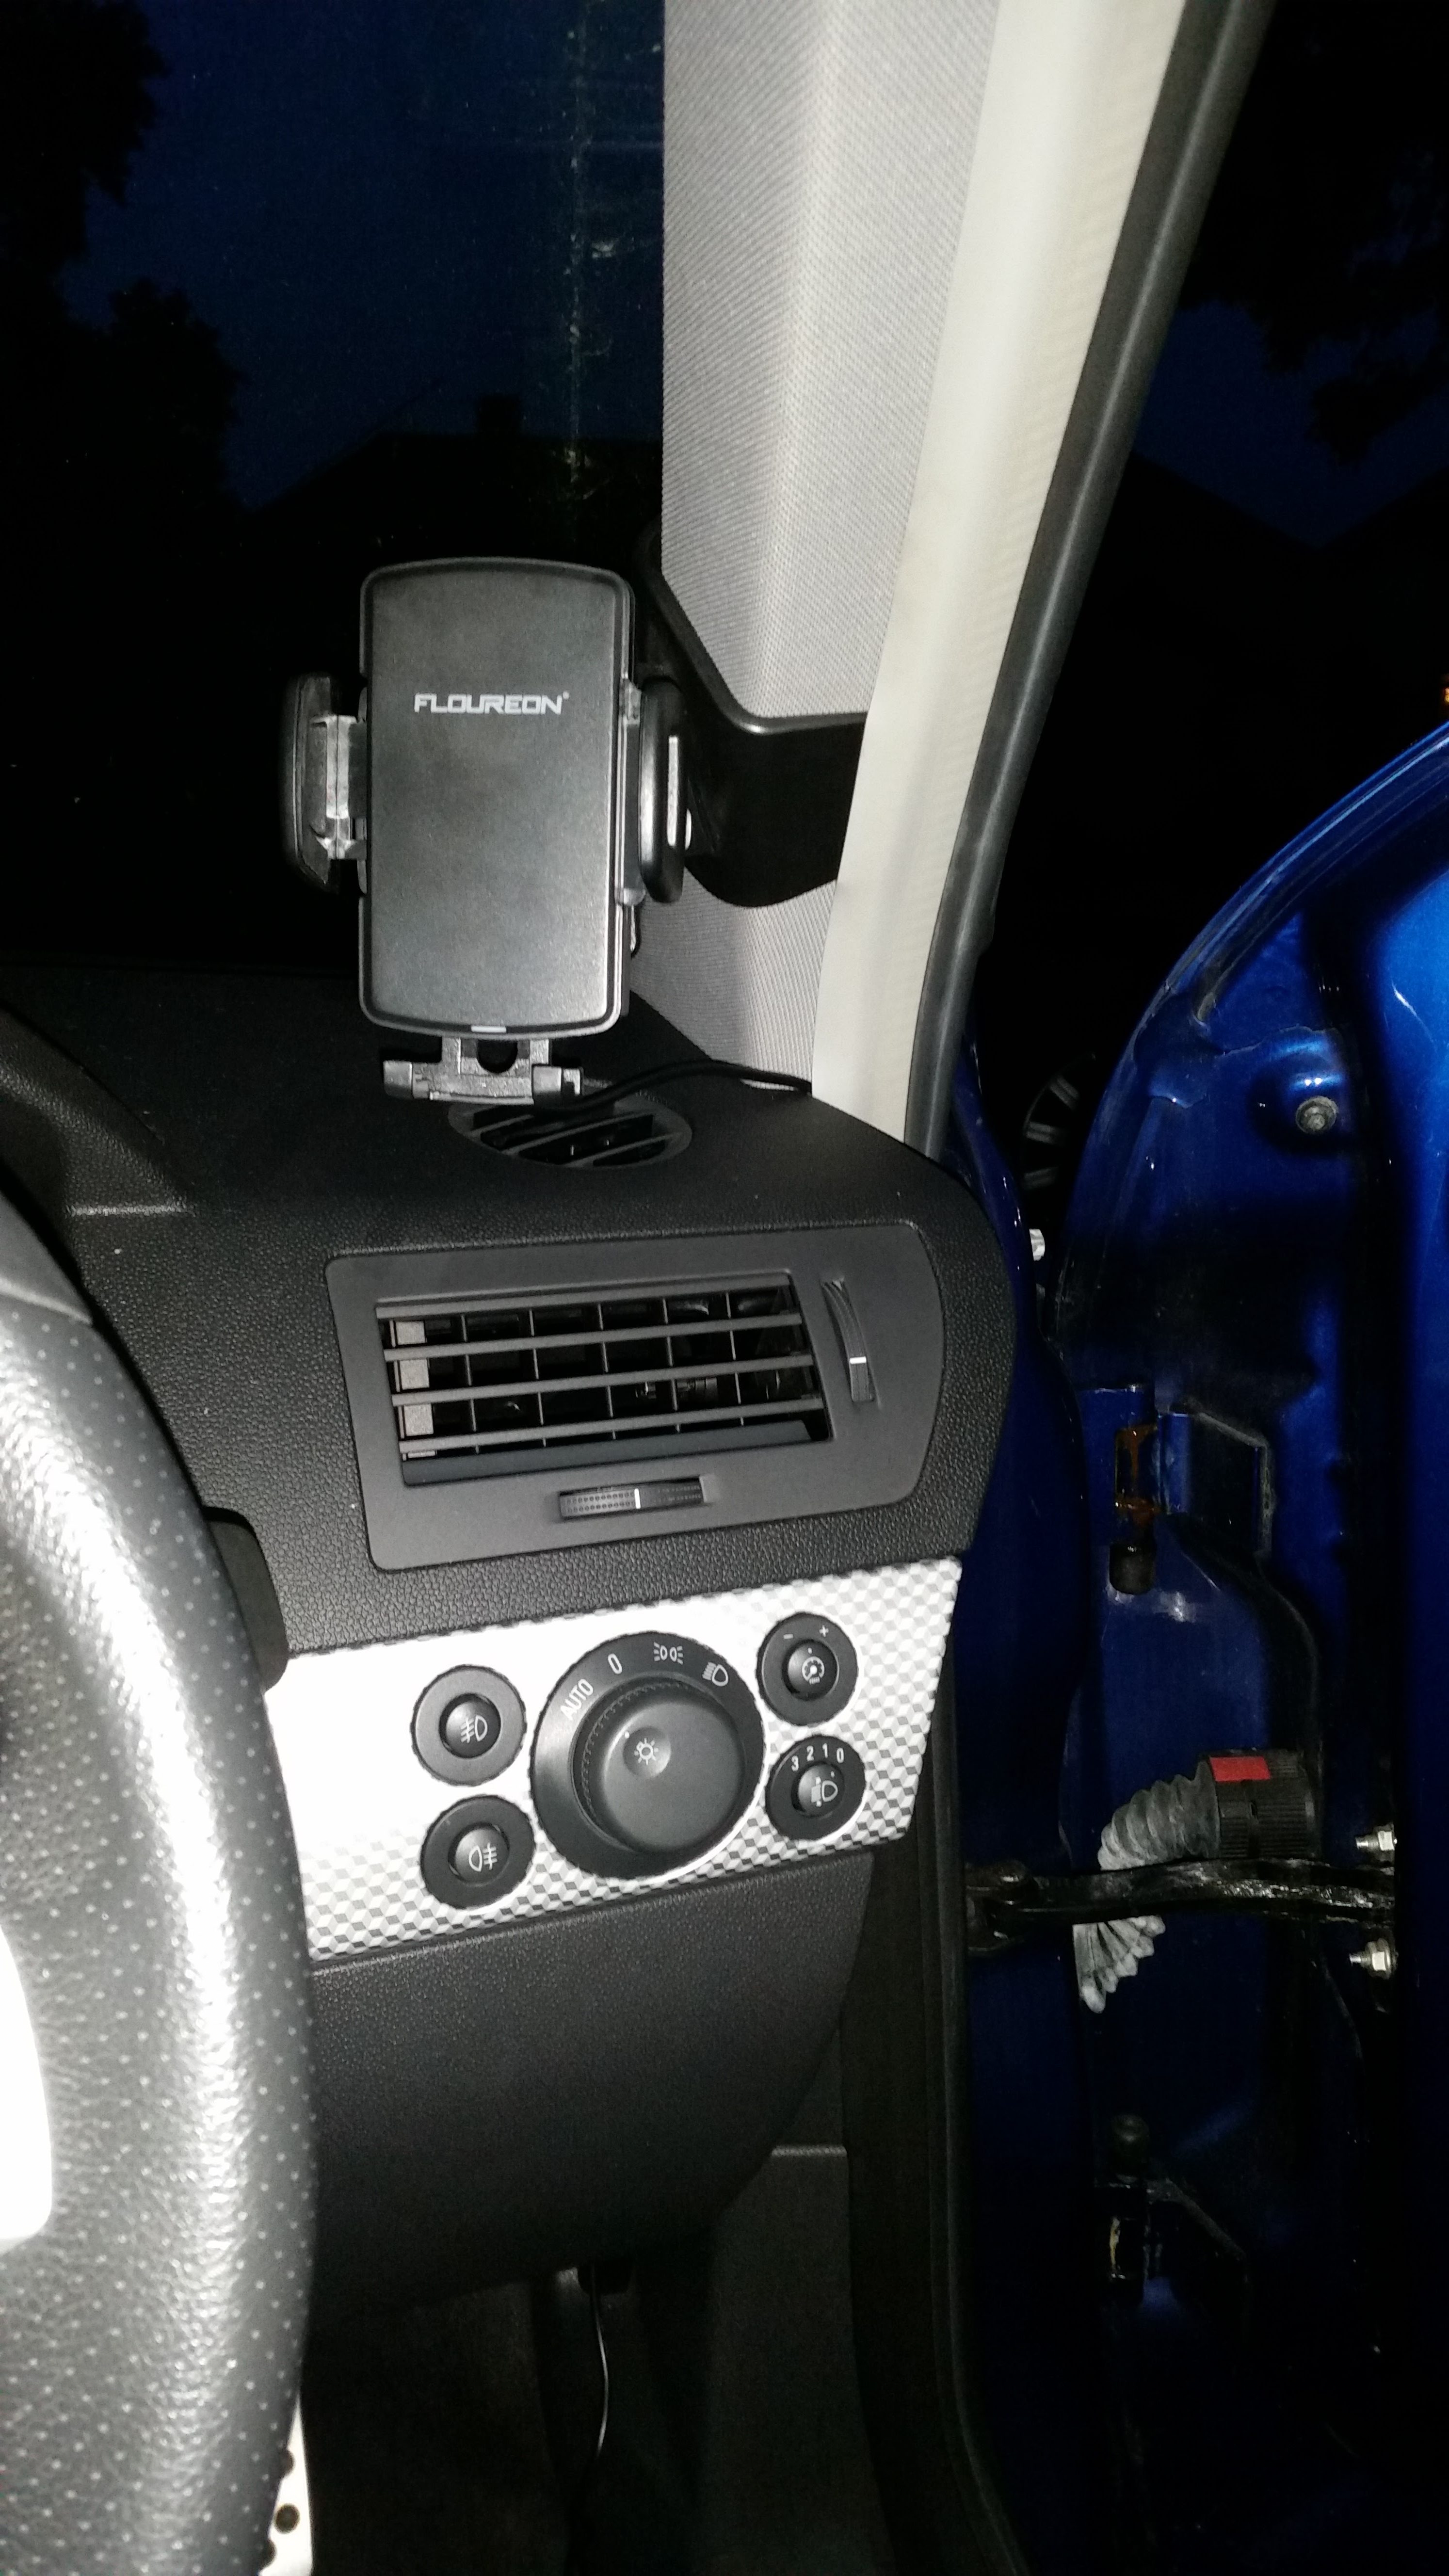
- Brodit windscreen pillar mount
- Fluoreon QI wireless charger cradle kit
- 4x M2.5 pan head screws, cut down to 6mm thread length
- 12V to dual USB 3A power supply
- Short two-core cable and cable ties, one male spade terminal and heatshrink tubing for connections
Preparation:
I needed to attach the cradle onto the Brodit mount; there are a few options ranging from double sided pads, glue and mechanical fastenings. I went with the latter and discovered that the back of the cradle is easily removed via two screws and then provides an easy panel to screw onto the Brodit mount.
I won’t cover that in detail here as I don’t have photos of this stage, but the basic steps are to temporarily fit the Brodit mount in the car and hold the cradle at a ‘pleasing’ angle when viewed from the drivers seat, draw round it onto the Brodit in pencil and then remove the mount again and put the parts together in the workshop. I was particularly pleased with this part, as by cutting the screws down, I was able to drill ‘almost through’ the Brodit mount and self-thread the screws into it so they are blind from the windscreen side. To retain access to the two screws holding the backplate to the cradle, I drilled two 4mm holes to allow the screws to be inserted and a small pozidrive screwdriver to pass through to tighten them.
Fitting:
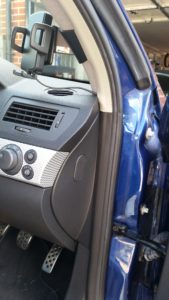 Plug the micro-USB cable supplied with the cradle into it and fit the combined Brodit mount and cradle to the windscreen pillar.
- Pass the USB cable behind the inside flap of the door seal and down as far as the bottom of the dash.
- Remove the radio head unit using the standard prongs, disconnect the multi-lock connector and coax connector and put it somewhere safe.
- Unclip the climate control panel and rotate forwards, disconnect the two connectors behind and remove.
- Lift the cigarette lighter panel, leaning alternately left and right to disengage the clips holding it in. Once free, disconnect the two-way spade terminal connector to the lighter socket.
- Remove the lower dash panel from the drivers footwell (secured by two plastic twist clips), lower the edge against the dash, pull towards you and lay in the footwell.
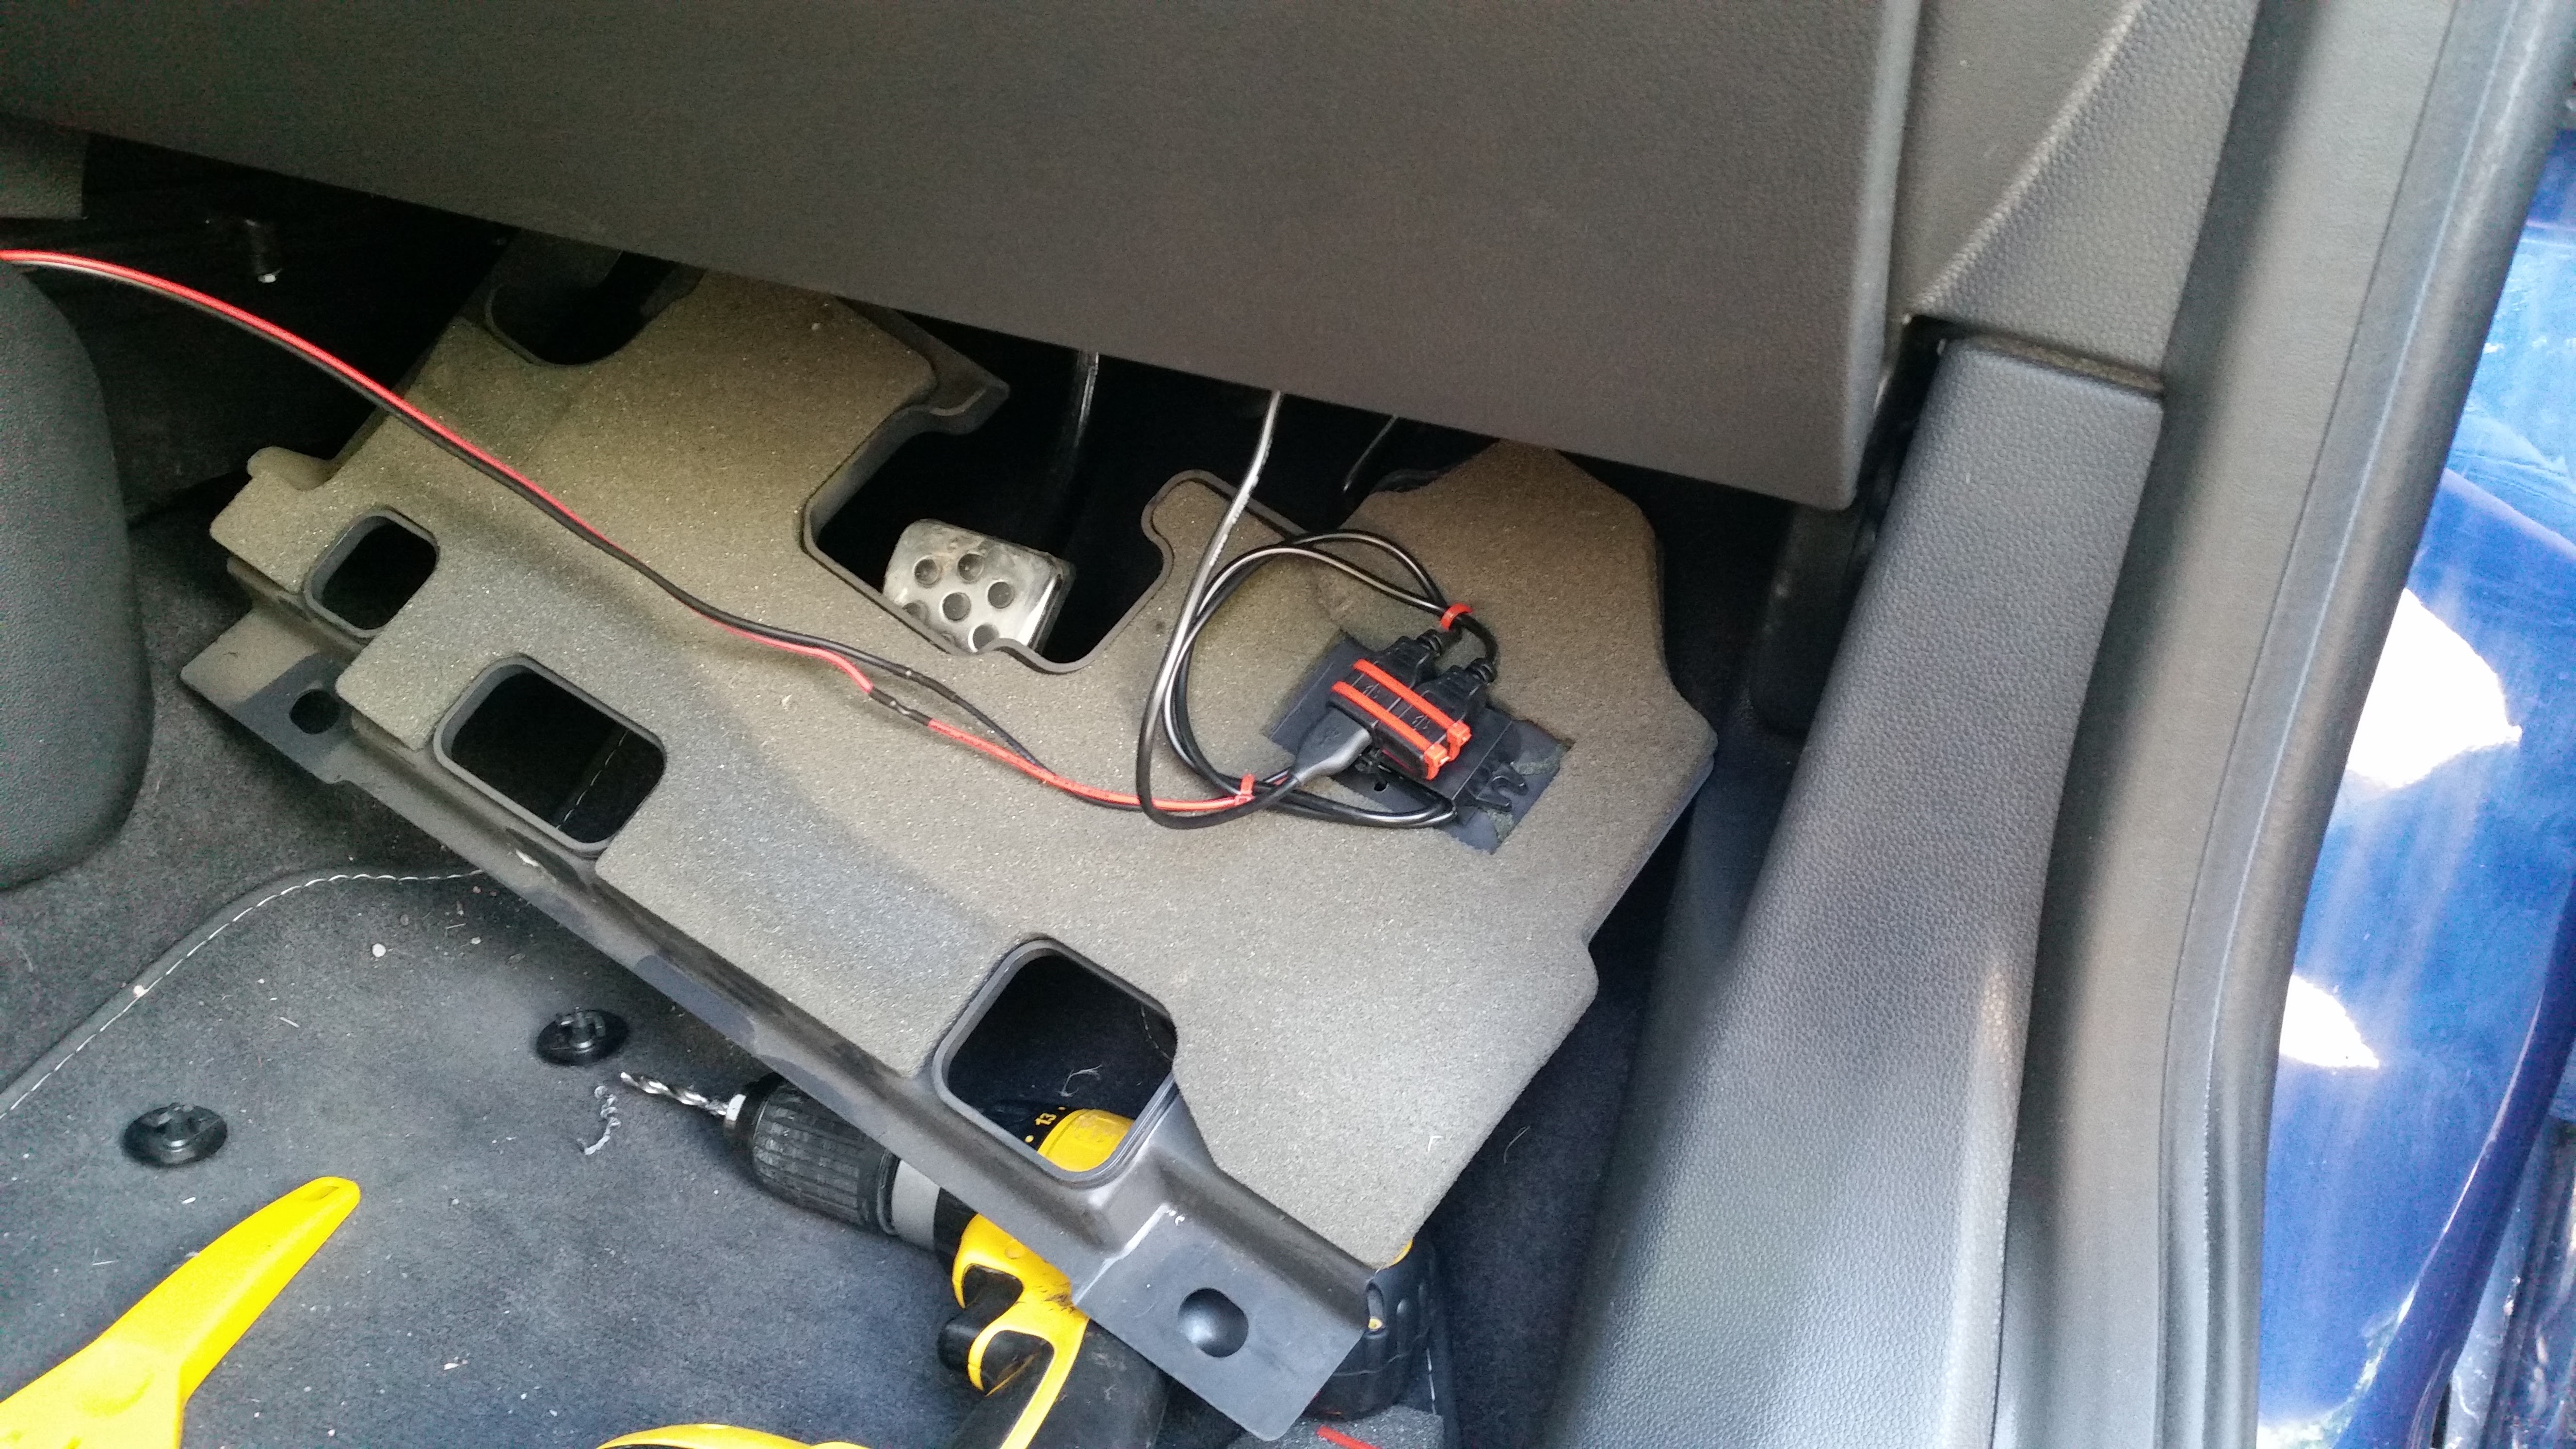
- Extend the USB power supply input cables and pass the extended cable from the drivers footwell area through to the position the cigarette lighter socket was removed from.
 Drill two holes approx 3cm apart in the lower dash panel you just removed in the approximate location I did and use a cable tie passed through them to secure the USB power supply, first removing a square piece of foam to prevent overheating. I then plugged in the cradle connector, secured the two outlet USB sockets to the first cable tie and (drilling two more pairs of holes in the panel) secured the surplus loop of cable to the panel.
- Refit the lower dash panel (offer the frontmost part up first, lift the rear and secure with the two twist lock fasteners.
- Pull through any slack cable, then allow an extra 6″ (15cm) of cable, cutting the extension 6″ longer than the cigarette lighter loom.
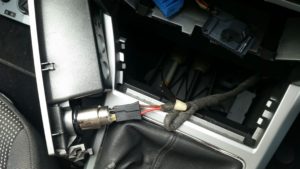 Magic happens now – although the lighter socket is itself wired permanent live, taped back in that loom is a ready-made ignition live (wire coloured black), which I used to provide the ignition live to the holder. Make up a matching male spade connector from the (Positive) RED wire on the USB power supply and plug it into the (Ignition switched positive) BLACK wire taped back in the loom and cover with heatshrink (preferable) or PVC tape.
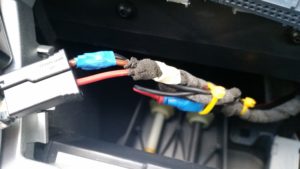 Connect and solder the wire coming from the (Negative) BLACK wire on the USB power supply to the (Earth Negative) BROWN wire on the loom and cover with either heatshrink or PVC tape as before – this one is harder as you have to strip it part way down its length, twist the extra wire to it and solder.
- Now test – Switch Ignition ON and verify that the LED on the front of the cradle is ON and goes OFF a few seconds after turning the ignition switch OFF.
- Re-connect the cigarette lighter socket and re-fit its panel in the centre console.
- Re-connect the two connections and fit the climate control panel in the bottom of the dash
- Reconnect the two connections on the radio head unit and re-fit it in the dash.
- Hopefully you’re done and now your phone is both accessible and charges as you drive.


If you have an Android handset and want to go a little further, then you can add some automation to your handset to automatically unlock and leave the screen powered ON all the time it is charging. ![]()
![]()
 To automatically unlock the handset, I used the native Android Smart Unlock by adding the Nokia Bluetooth kit as a trusted device.
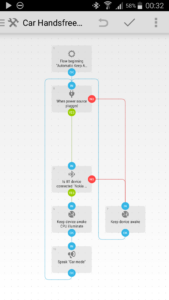
- To change between the modes I used the excellent free Automate app from the Google Play Store, which allowed me to detect wireless charging, check if I was already connected to the Nokia kit and then disable power saving until the phone stops charging. Get in touch if you want the ‘Flow’ file and I’ll send it to you.
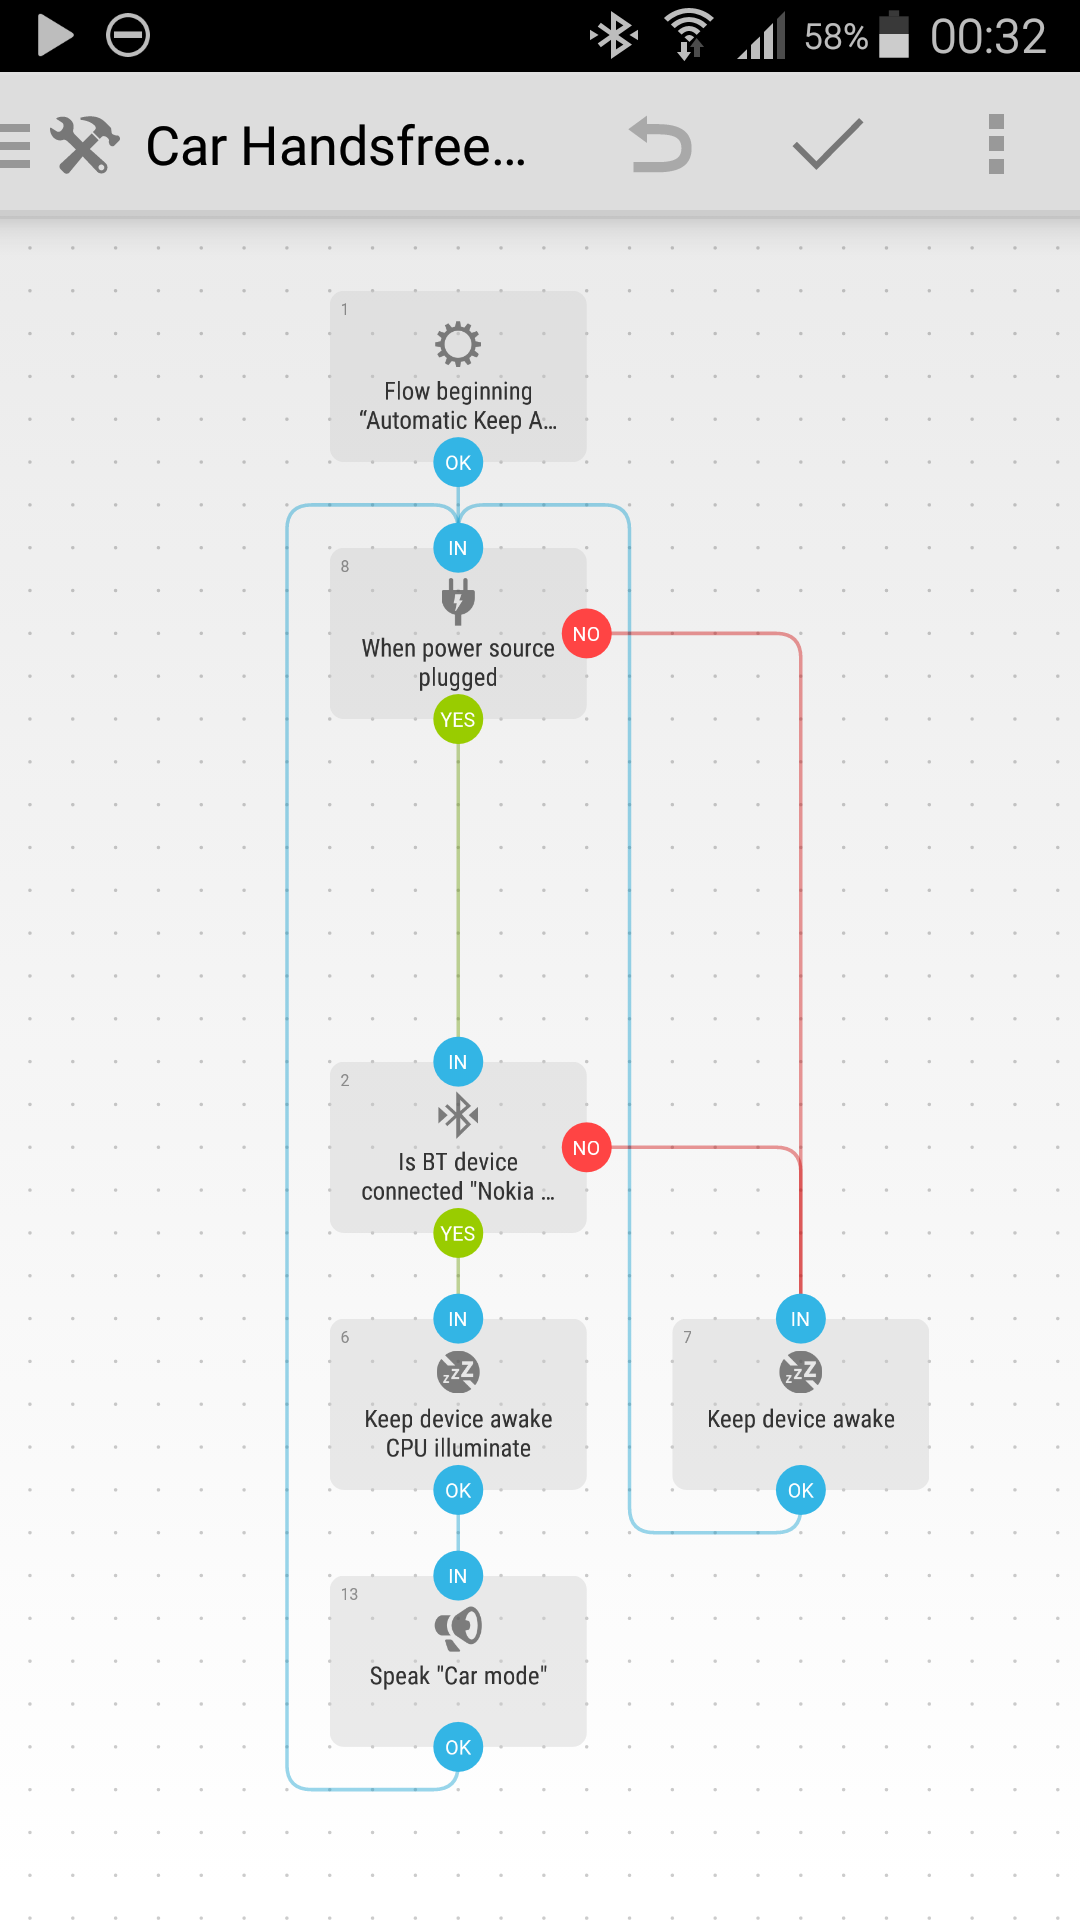
The cunning bit here is that the phone realises it isn’t in the car when I put it on it’s charging mat at home and doesn’t stay awake. So far at least, I have not had any issues with battery life after setting this up, so the Automate app itself appears to be good. It has a 30-block limit in the free version, which is enough for this, but I’m so impressed with it I’ll probably pay for the full unrestricted version.